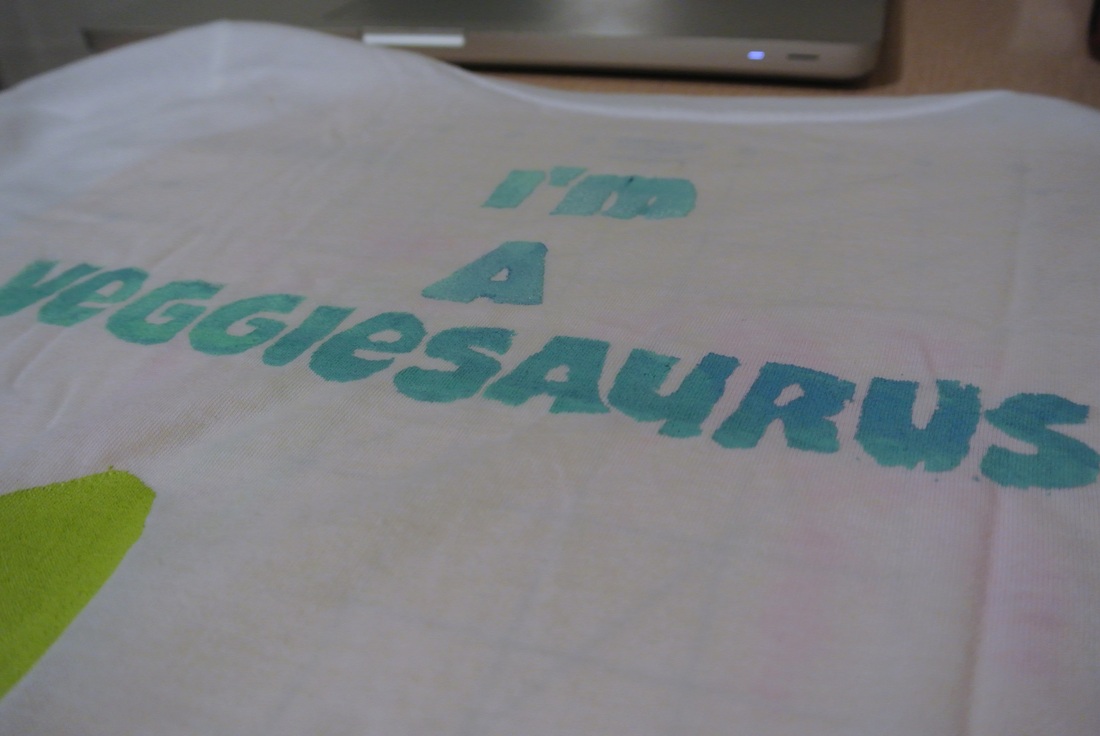
I didn't think that I would actually try this project when I first came across it months ago to be honest. I thought I wouldn't ever come up with a project that I really wanted to do in order to use it. Recently, I came across the awesome PETA "I'm a veggiesaurus" T-shirt, I had to make my own! (I did buy the real t-shirt from PETA too, it's in the mail! :D ) To celebrate my first "veggie-ersary", I was obsessing over how to make a cute shirt of my own.
I will post the original tutorial I went off of down below. I enjoyed this tutorial. It was short and simple. Although it was quick to the point, it lacked the add of helpful tips that I normally love to find in DIY tutorials. So, I will let you guys know what worked for me.
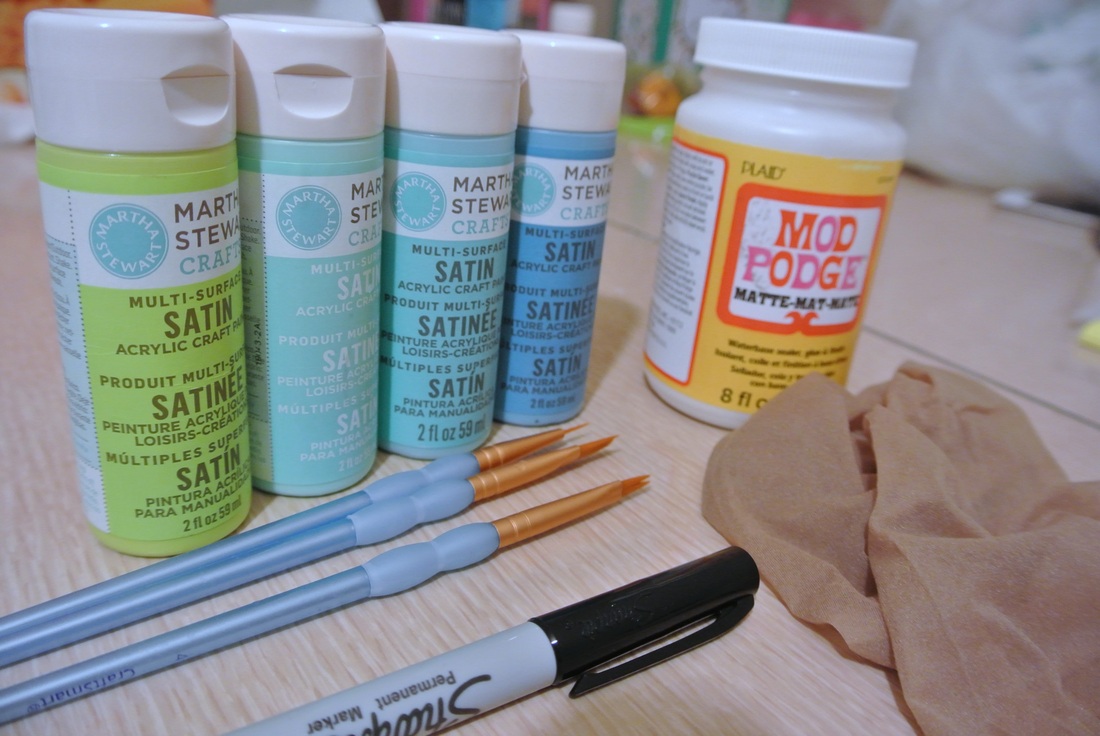
I love the Martha Stewart Acrylic Satin Paint! I was iffy on it at first, only because I wanted to go "cheap" for this project, but I caved. I always love her products. I haven't been disappointed with them yet. (knock on wood...) Also, I just purchased the cheapest pantyhose I could find in the largest size. The larger size because that was more fabric you could get for the same price. :) Why buy a size small when I can get a xx-large for the same price?! I haven't been able to find pantyhose fabric in yards...yet...

| 

|
Helpful Tips:
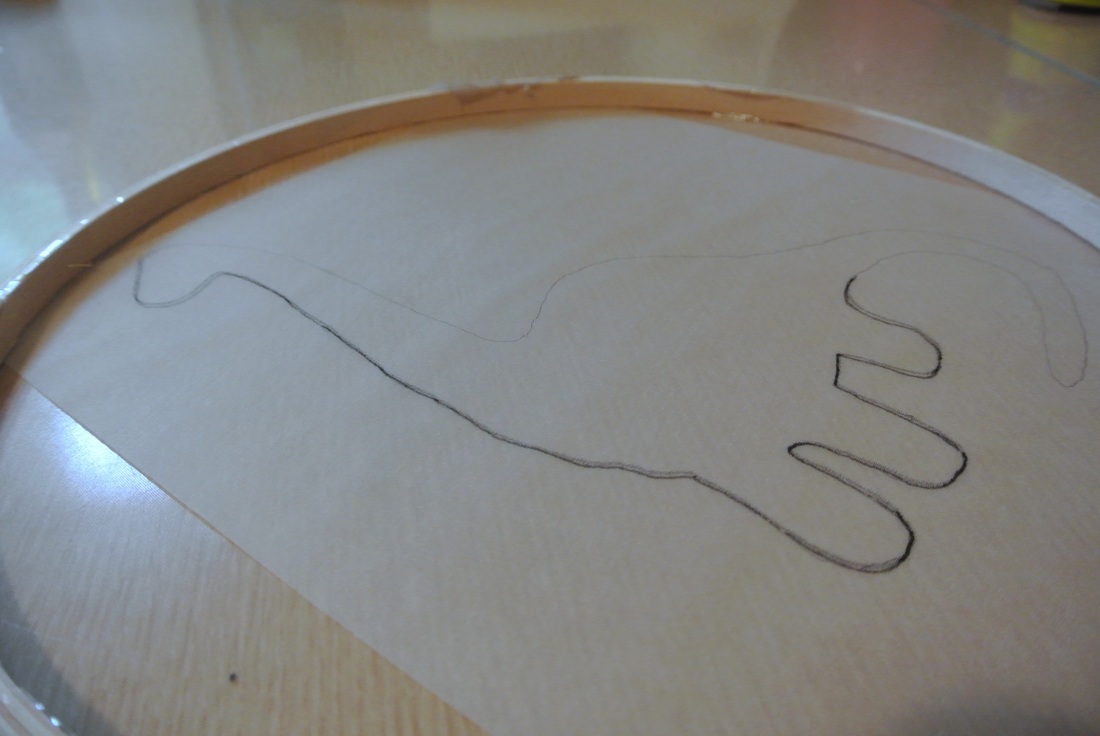
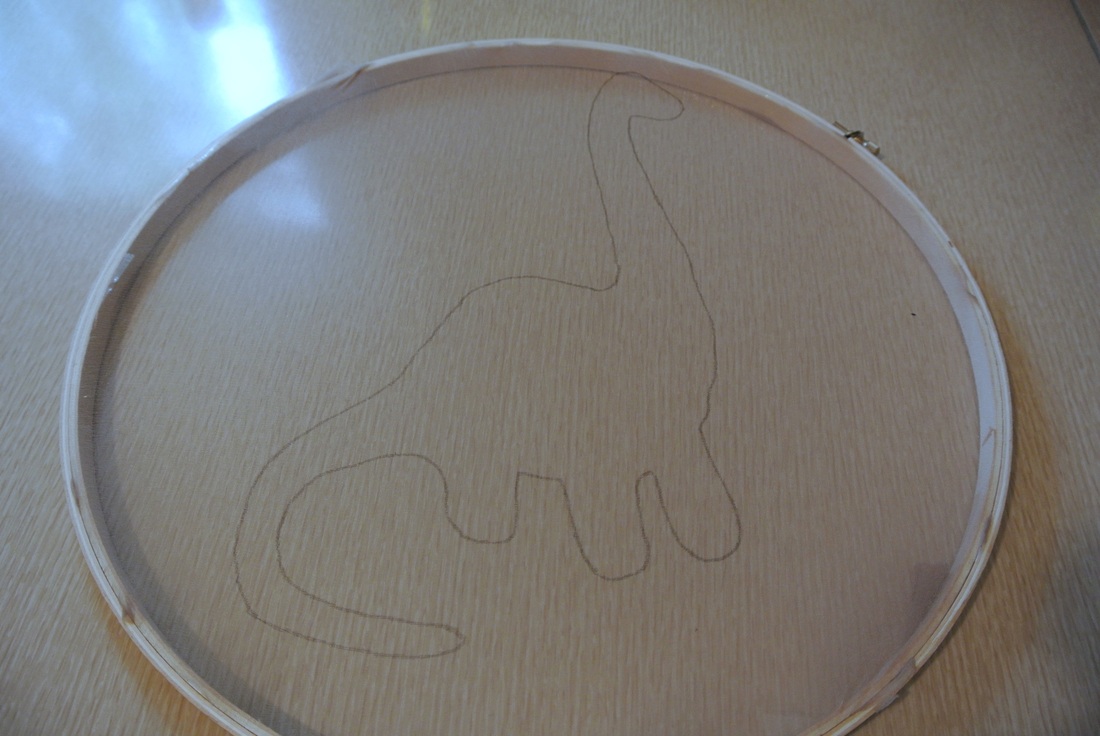
I bought tracing paper to help me transfer the pictures/words onto the pantyhose screen. It was a little bit of an additional cost, but it turned out perfect in the end. I traced everything off my computer screen. My printer is still lost somewhere in storage. (another reason to have trace paper)
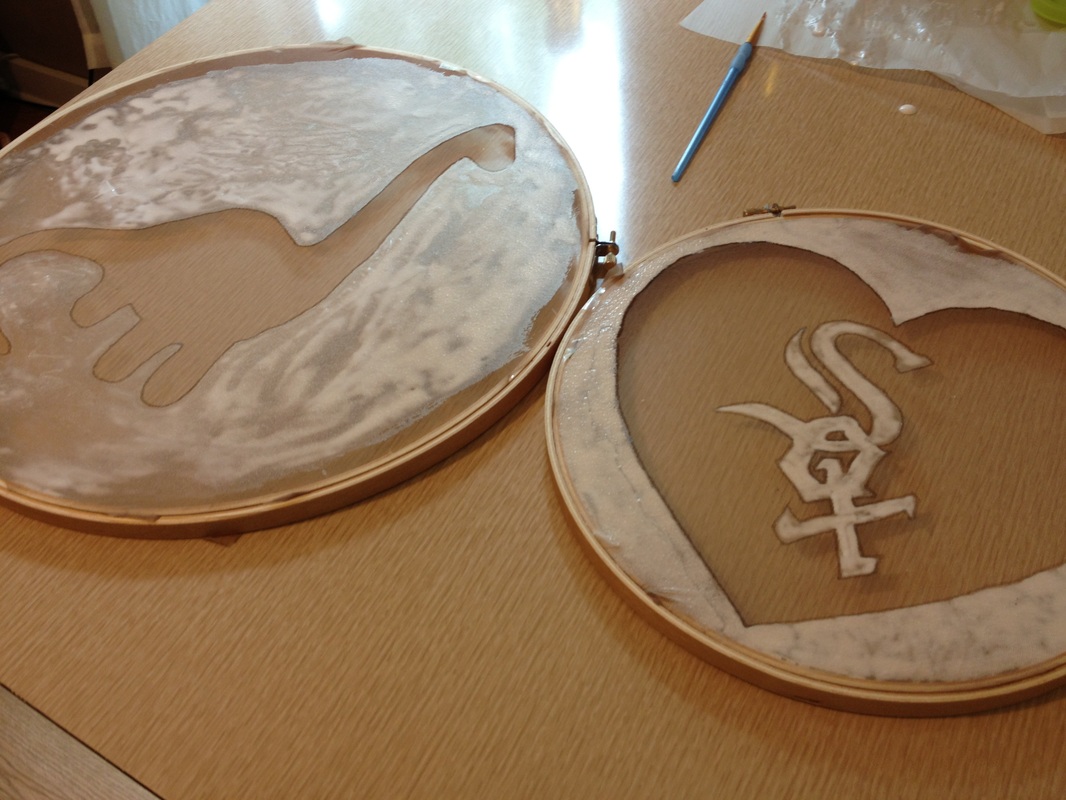
Getting the pantyhose onto the hoop was a nightmare at first. I ended up using tape in the end. I just taped the sucker down onto the inner hoop and clamped on the outer one once I was happy with how tight it was. I also suggest not using an embroidery hoop that you want to use for embroidery again... the mod podge alone ruined the edges of the hoop. Adding the tape and paint on top of that... Well, let's just say mine are pretty messy now. Which is okay with me. I bought the two bigger sizes to use strictly for this project. I did not, however, think ahead of what might happen to them. I'm just glad I didn't use any of my smaller hoops that I use for cross stitching.
I ended up, like the original blogger, being a little OCD about getting all the tiny holes covered up. Which lead to a lot of excess mod podge on the back side. This took it longer to dry. Being the super impatient person that I am, I aslo placed my finished mod podge screens in front of a fan to dry them faster. :)
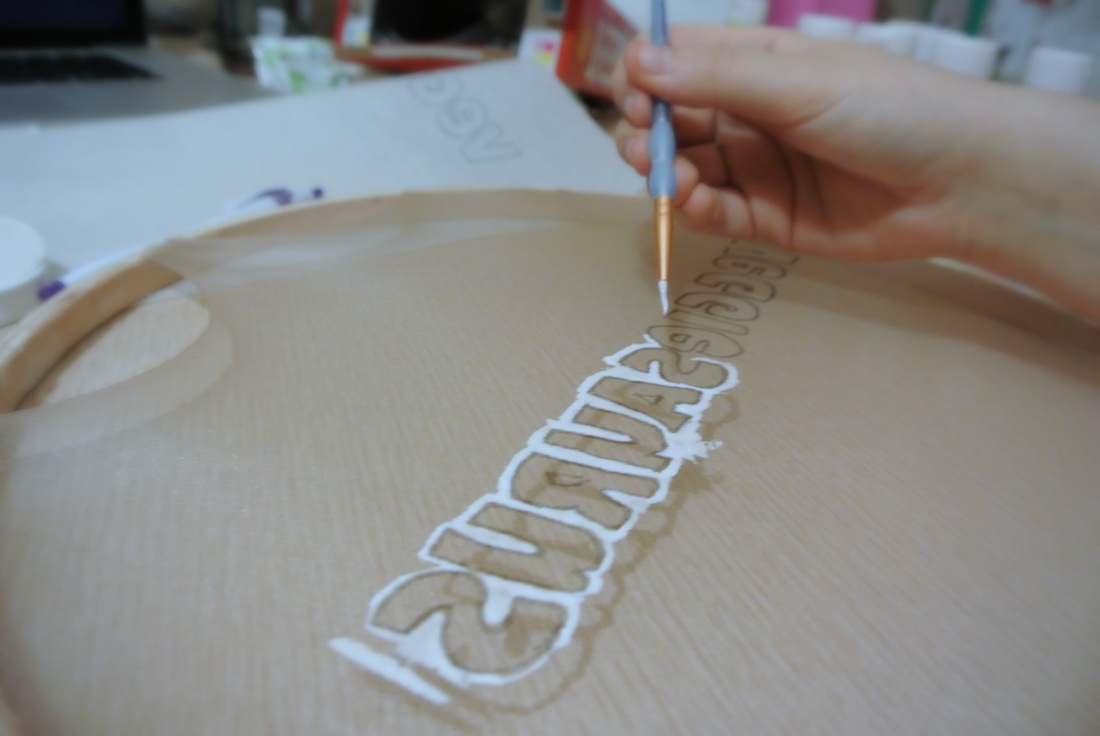
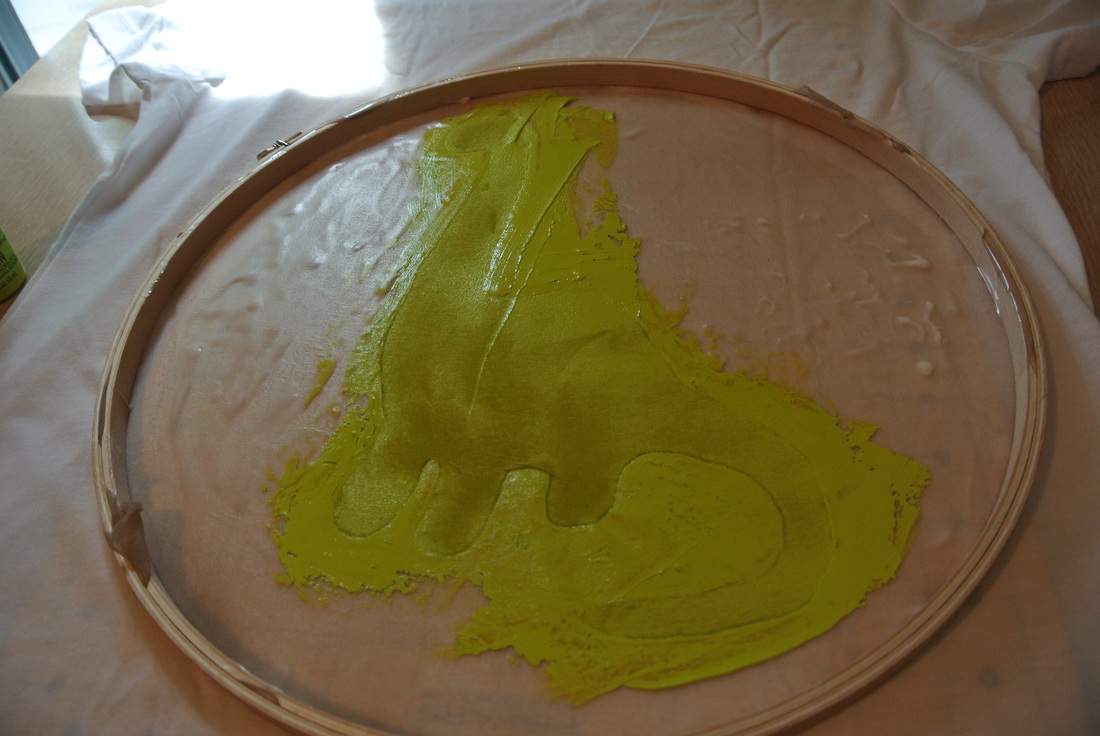
Don't use too much paint!
I bought tracing paper to help me transfer the pictures/words onto the pantyhose screen. It was a little bit of an additional cost, but it turned out perfect in the end. I traced everything off my computer screen. My printer is still lost somewhere in storage. (another reason to have trace paper)
Getting the pantyhose onto the hoop was a nightmare at first. I ended up using tape in the end. I just taped the sucker down onto the inner hoop and clamped on the outer one once I was happy with how tight it was. I also suggest not using an embroidery hoop that you want to use for embroidery again... the mod podge alone ruined the edges of the hoop. Adding the tape and paint on top of that... Well, let's just say mine are pretty messy now. Which is okay with me. I bought the two bigger sizes to use strictly for this project. I did not, however, think ahead of what might happen to them. I'm just glad I didn't use any of my smaller hoops that I use for cross stitching.
I ended up, like the original blogger, being a little OCD about getting all the tiny holes covered up. Which lead to a lot of excess mod podge on the back side. This took it longer to dry. Being the super impatient person that I am, I aslo placed my finished mod podge screens in front of a fan to dry them faster. :)
Don't use too much paint!
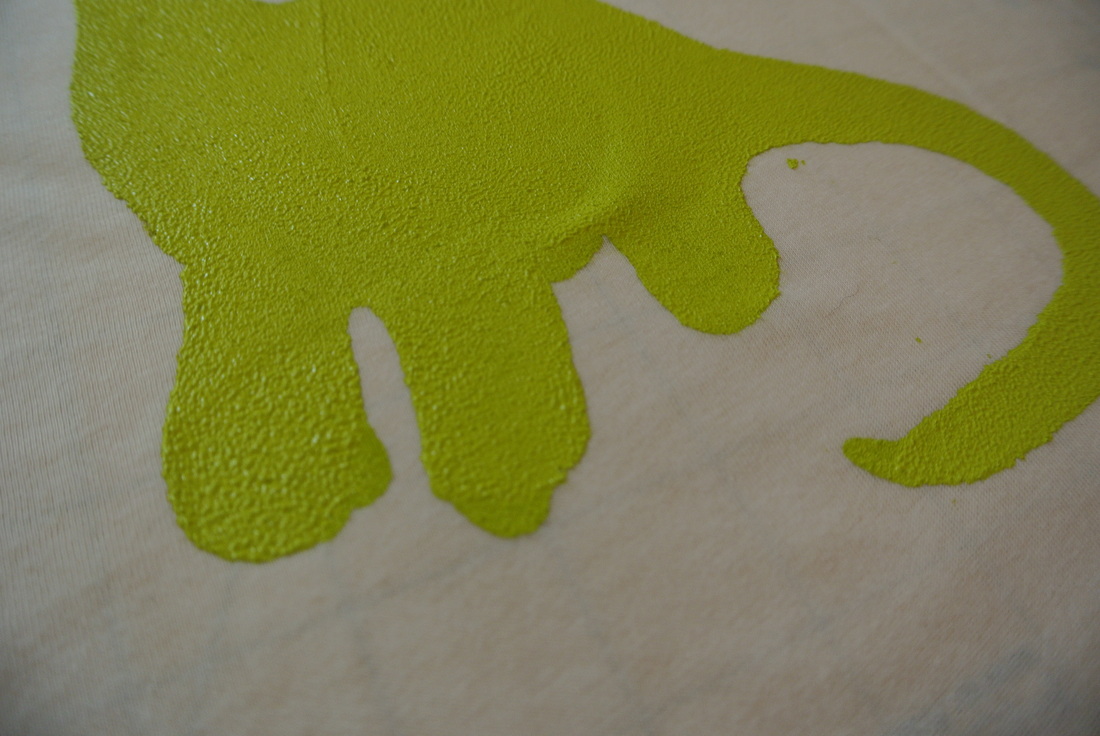
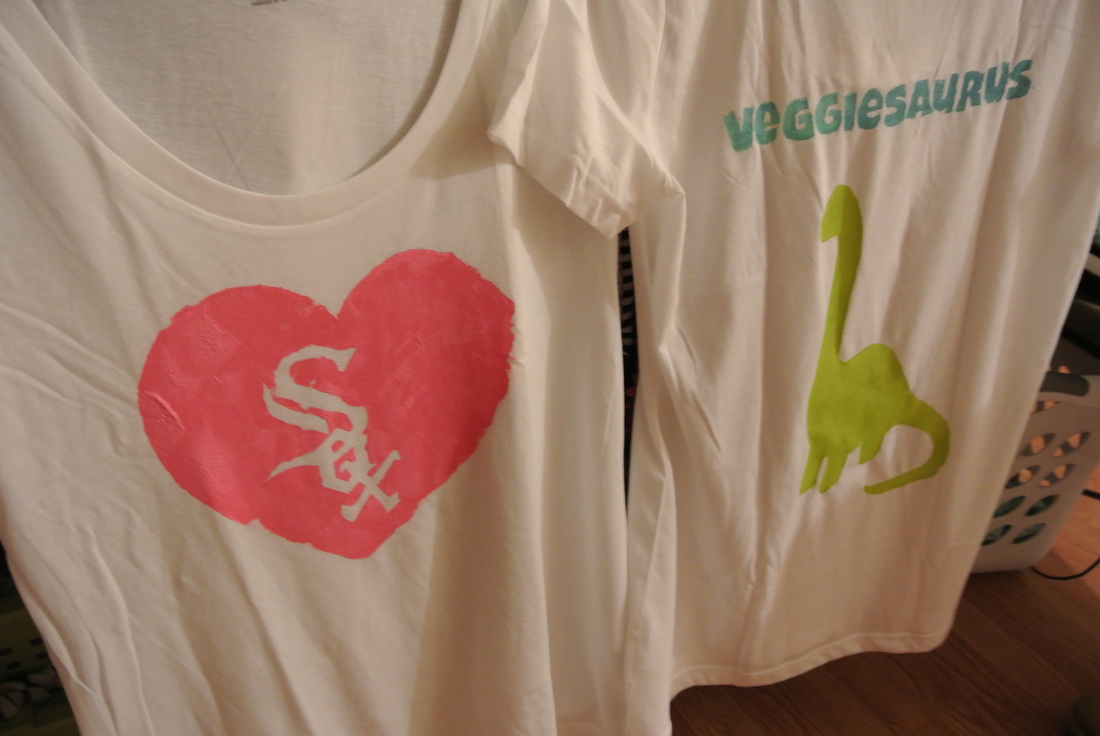
I ended up adding way too much paint on this first one, and it seeped underneath the edges a little bit. Lesson learned. :) I don't mind it too much. Gives it more of the "I made this" sort of look. The second time around, I did much better. I even added in some color to give it more of a tye-dye/ombre type look.
| 
|
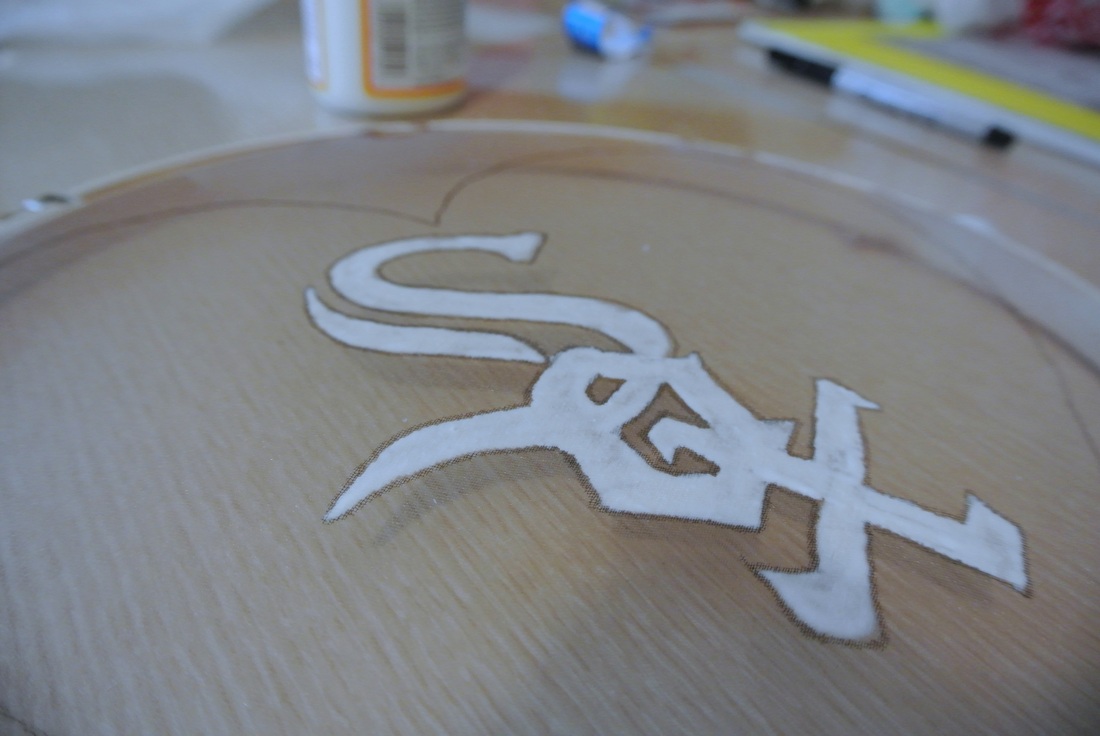
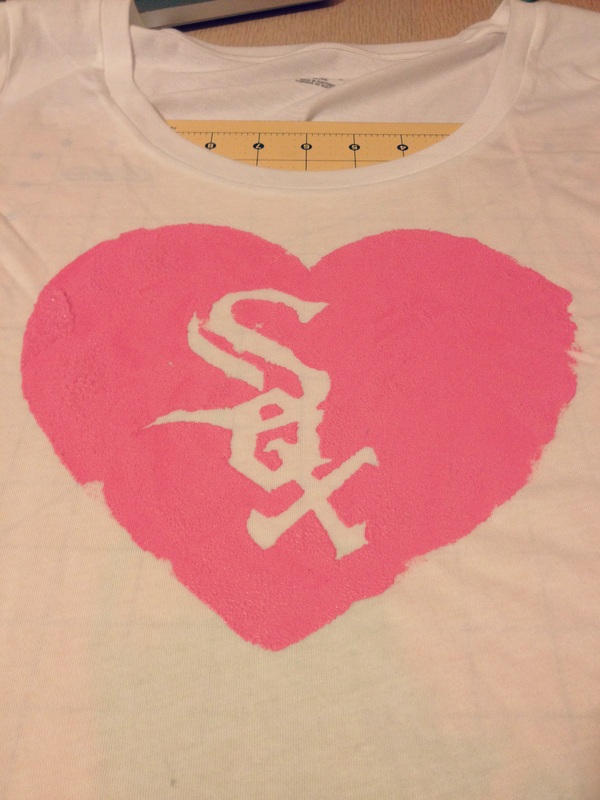
I purposely made my White Sox screen-print messy. I wanted to give it that sort of look. I LOVE the way it turned out! The pink dried bit too neon-y for me but meh. I can live with that! For my first two shirts, it turned out to be a success. I love this idea and I will be making a ton more shirts!
Just a word of caution. This project, at first, may seem so simple and quick. It is deceiving. The amount of time I took just filling in the mod podge areas took me over a half hour. My White Sox screen took me over 45 min to finish. Simply because in order to get the symbol just right, I needed to take my time painting on the mod podge. Make sure you set aside enough time for this project. It's not one that can be done within an hour, or get fast results. It's definitely a long process. Way worth it though! :)
Just a word of caution. This project, at first, may seem so simple and quick. It is deceiving. The amount of time I took just filling in the mod podge areas took me over a half hour. My White Sox screen took me over 45 min to finish. Simply because in order to get the symbol just right, I needed to take my time painting on the mod podge. Make sure you set aside enough time for this project. It's not one that can be done within an hour, or get fast results. It's definitely a long process. Way worth it though! :)

 RSS Feed
