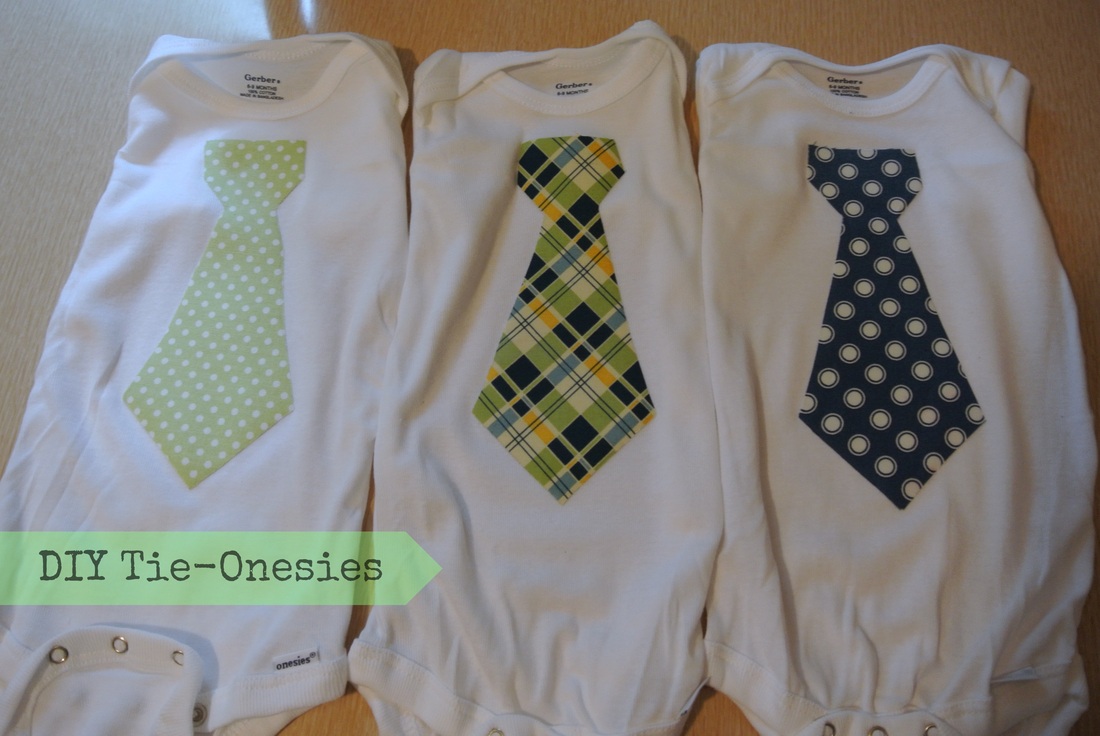
One saturday about two months or so ago, I saw these adorable onesies at the local European Market. And I thought to myself, I've seen those all over the internet! I hadn't actually thought to look into it every time I came across it online. I just sort of passed it by. Mostly I saw the ties with the numbers on them counting the months from 1-12. Super cute DIY photo ops for new parents! I didn't want to go into that far depth when I tried to the project the first time for my older sister.
The pictures I had posted on my facebook of the set's I made for my sister got such great feedback. I had a few people ask me to make them a set for presents. I recently finished one of the orders for my friends and put together a sort of half-ish tutorial on how I make them. :)
The pictures I had posted on my facebook of the set's I made for my sister got such great feedback. I had a few people ask me to make them a set for presents. I recently finished one of the orders for my friends and put together a sort of half-ish tutorial on how I make them. :)
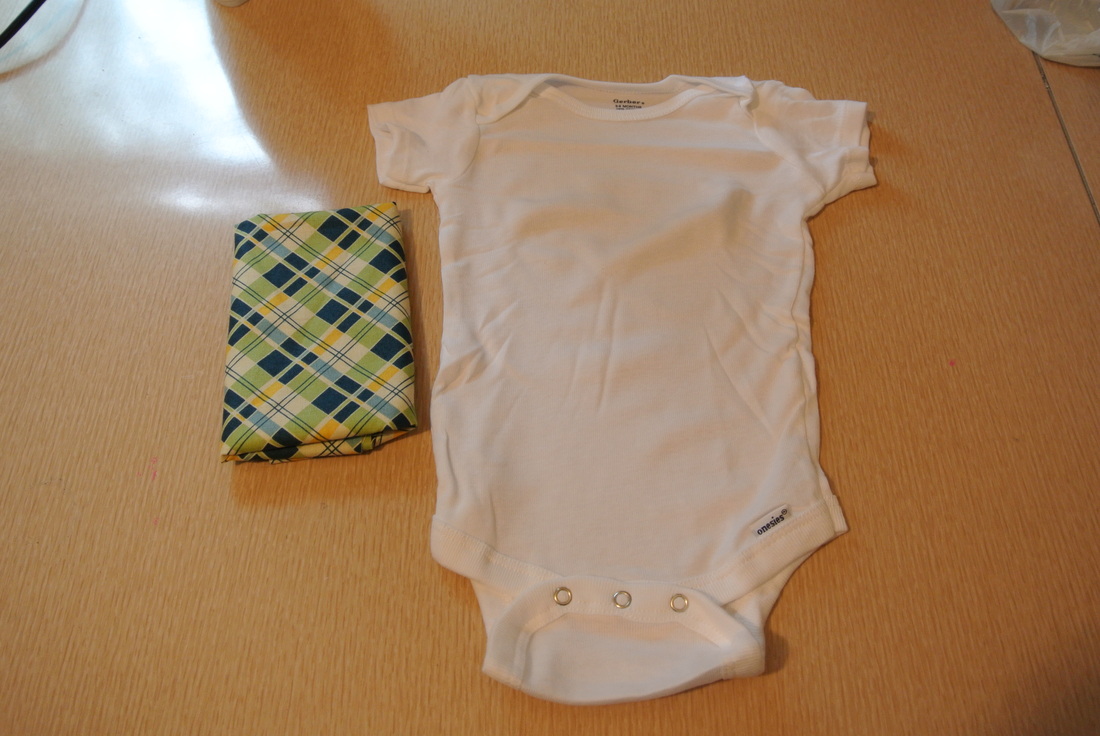
First off, I needed to pick out what size I wanted the onesies to be. My friend had said "sitting up" size. Which is hard to predict how big the baby will be when they sit up. So to be on the safe side I choose to go with onesies in the size of 6-9months. That way if the baby is a little on the bigger side, they would fit into the onesies.
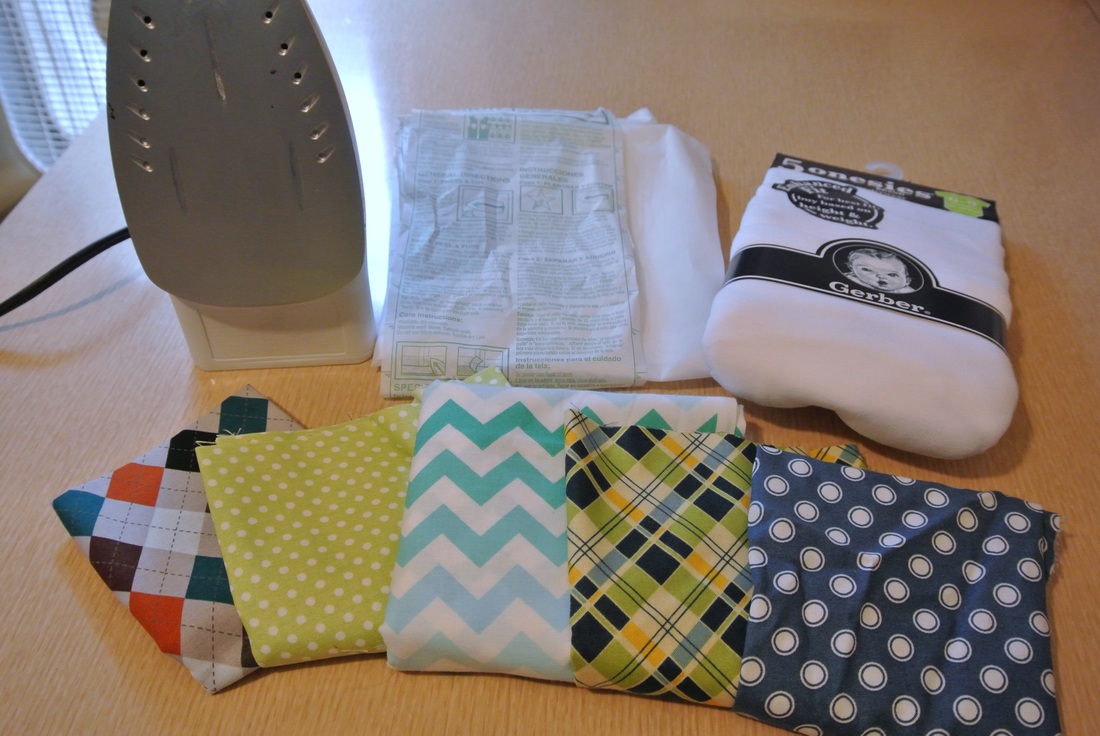
All you need for this projects is....
An Iron
Onesies
Different Fabric
Double-sided fusible interfacing
Scissors
All you need for this projects is....
An Iron
Onesies
Different Fabric
Double-sided fusible interfacing
Scissors
| ||||
| 
|
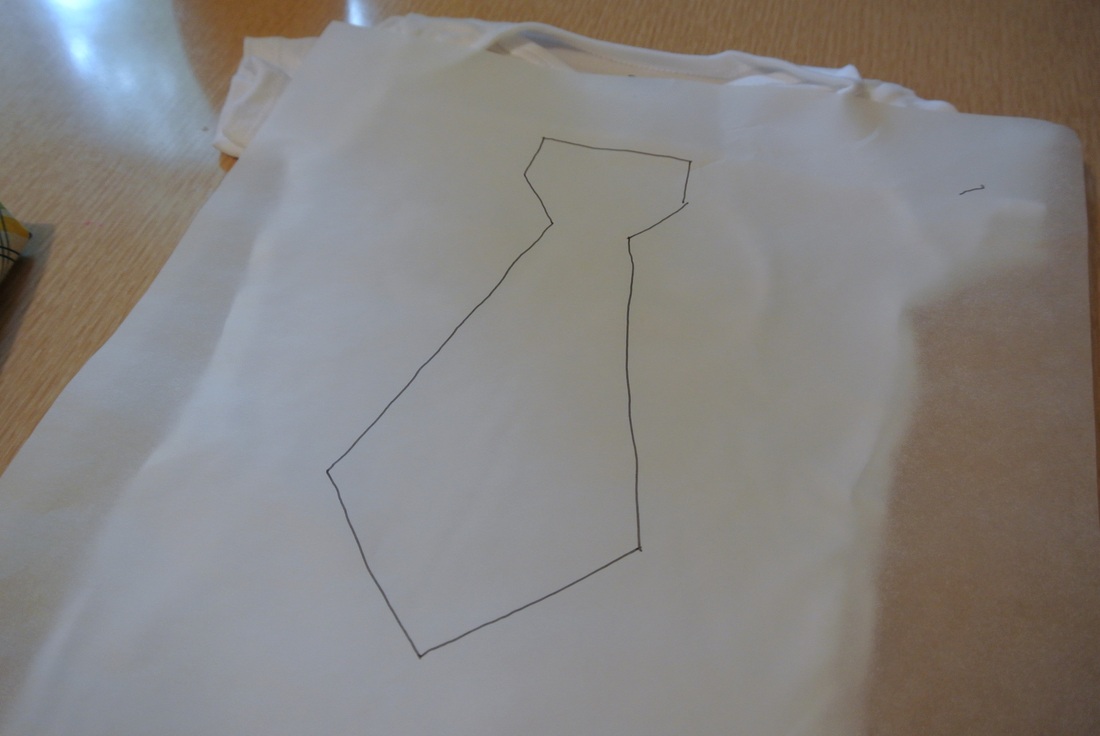
Since I do not have my printer set up, I use tracing paper and my laptop. I trace the image and make sure it fits on the onesies. I think it's important that you adjust the size of the tie to the size of the onesie you are using. That sort of goes without saying but I tend to forget about those sort of things. :)

The fusible interfacing has the instructions on how to use it on the paper it comes with. It's pretty easy to follow. I just fused a larger piece of fabric on the first side. Made is both easier and quicker to iron on and cut out.
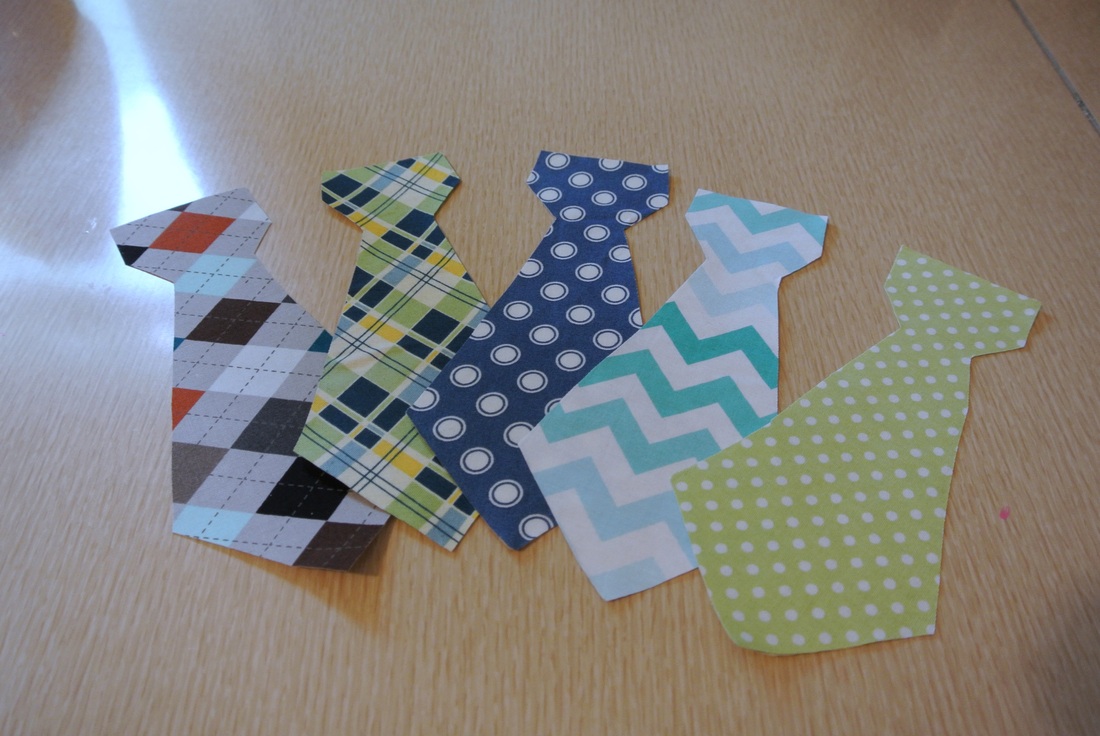
The tiny ties are so cute! It was hard to just choose a few different patterns. I loved them all.
| 
|
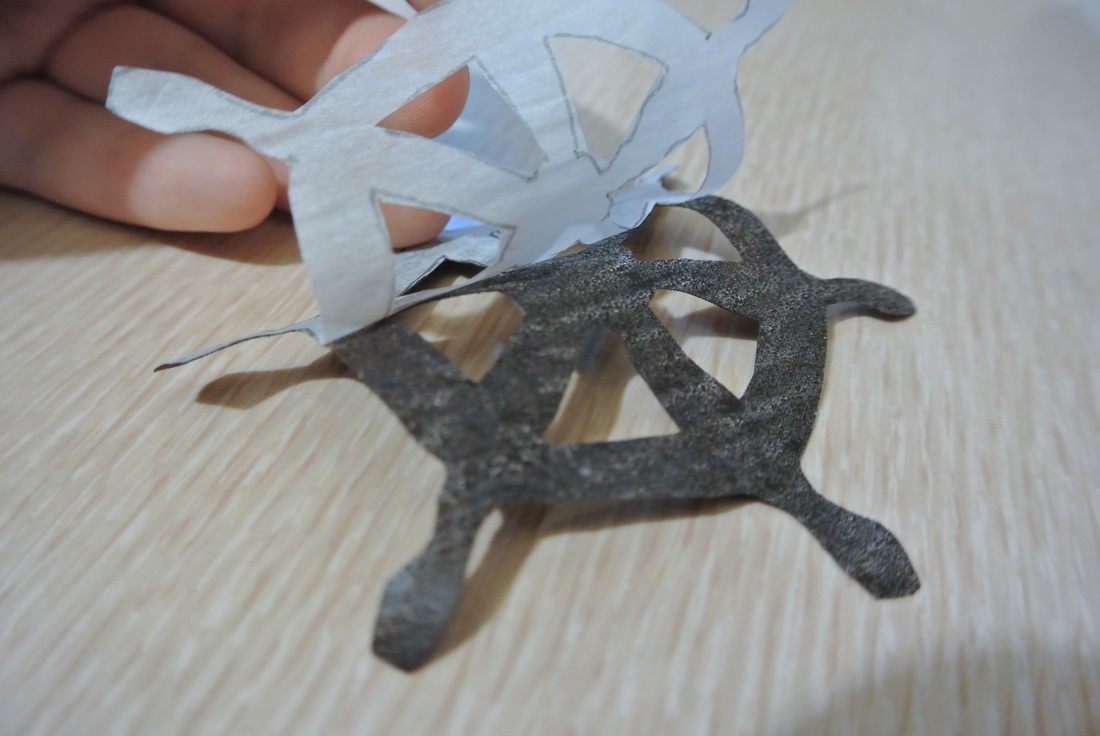
After you have your tie cut out, there will be another paper-film on the opposite side. Peel that off carefully, making sure that the interface fused well to the fabric on the opposite side. I had to re-iron a couple of them because the interfacing wasn't sticking right.
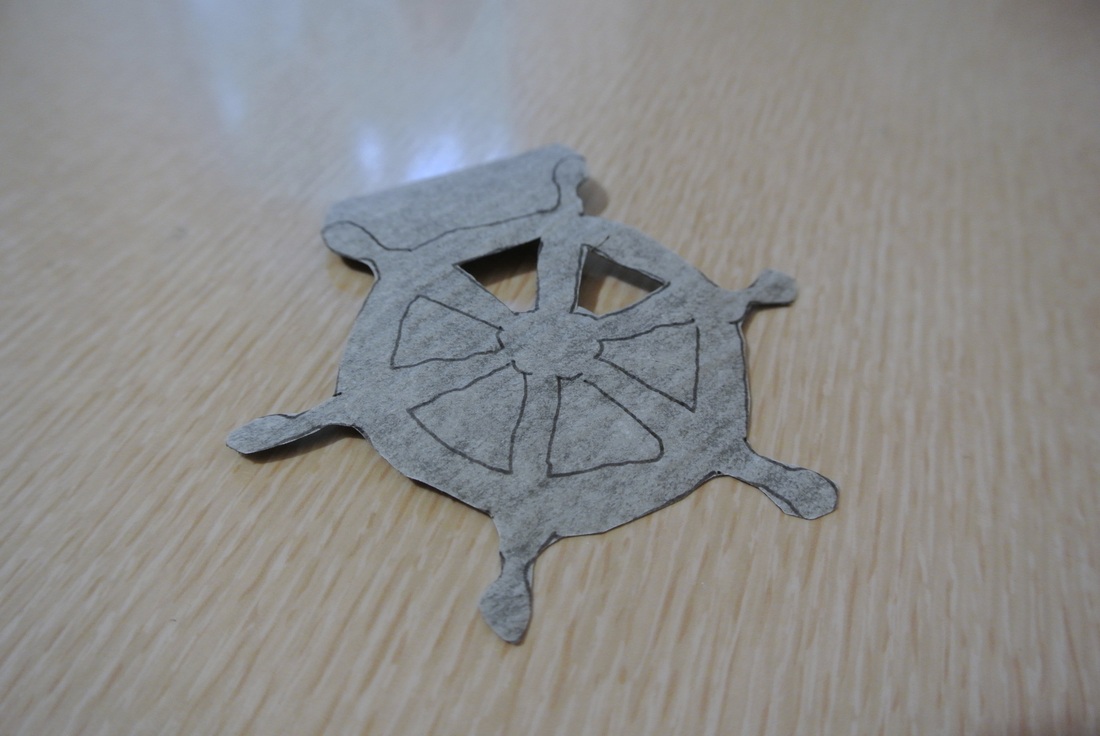
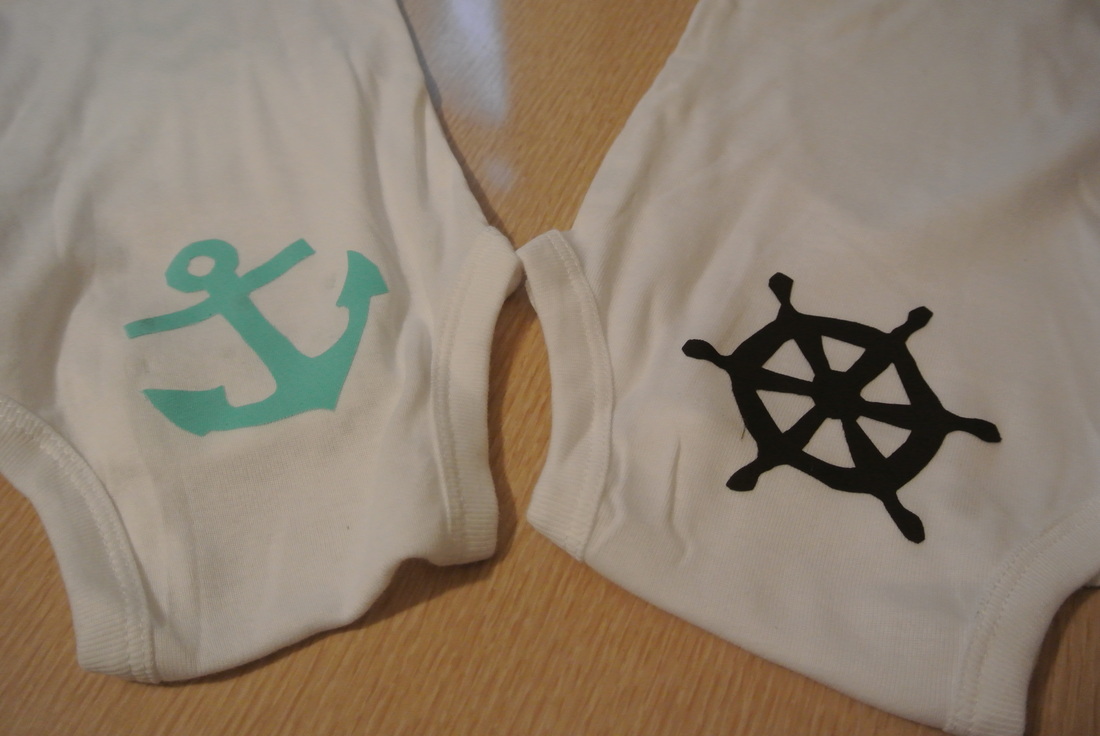
Decided, sort of last minute, to add something cute to the butts of the onesies to make it more personal. I had tried to find something nautical for the theme, but everywhere I went the patterns were too large to fit or make out on the tiny ties. I decided to make an anchor and sail-boat wooden wheel cutouts. :)
Decided, sort of last minute, to add something cute to the butts of the onesies to make it more personal. I had tried to find something nautical for the theme, but everywhere I went the patterns were too large to fit or make out on the tiny ties. I decided to make an anchor and sail-boat wooden wheel cutouts. :)
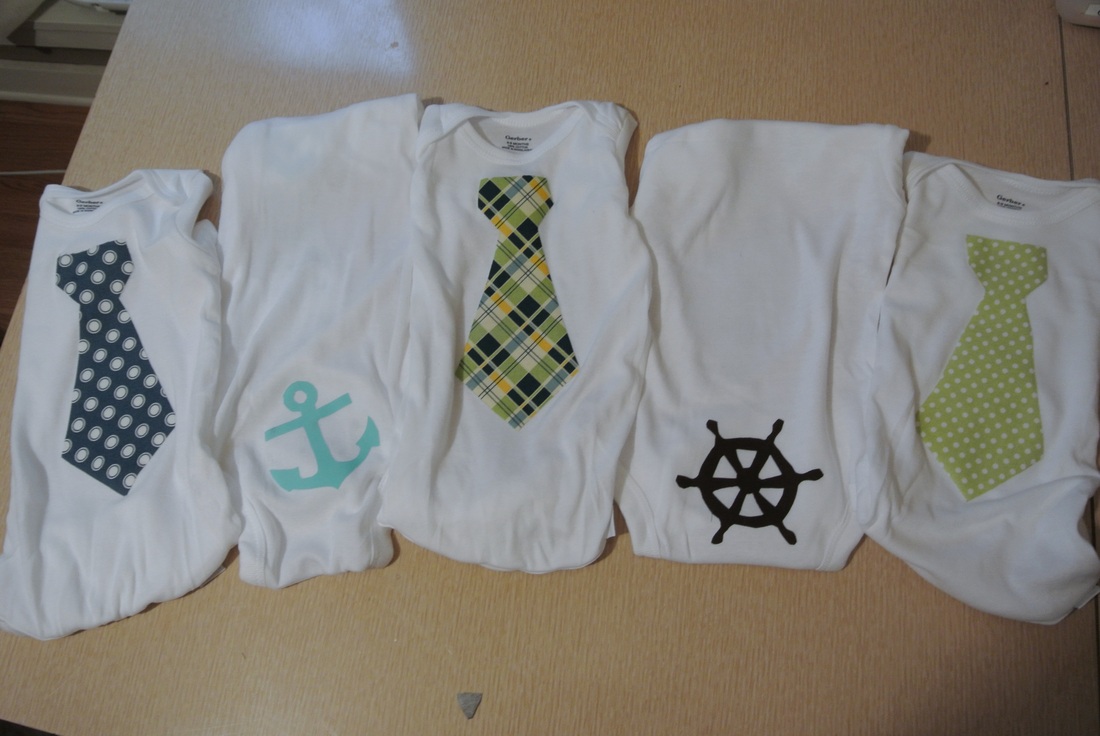
Overall the project is pretty simple. Just cut out and iron on ties basically. Being so simple, they are super cute baby shower gifts. :) I was happy to get a chance to make them. Short, simple, cute. :) Just how I like some of my projects.

 RSS Feed
