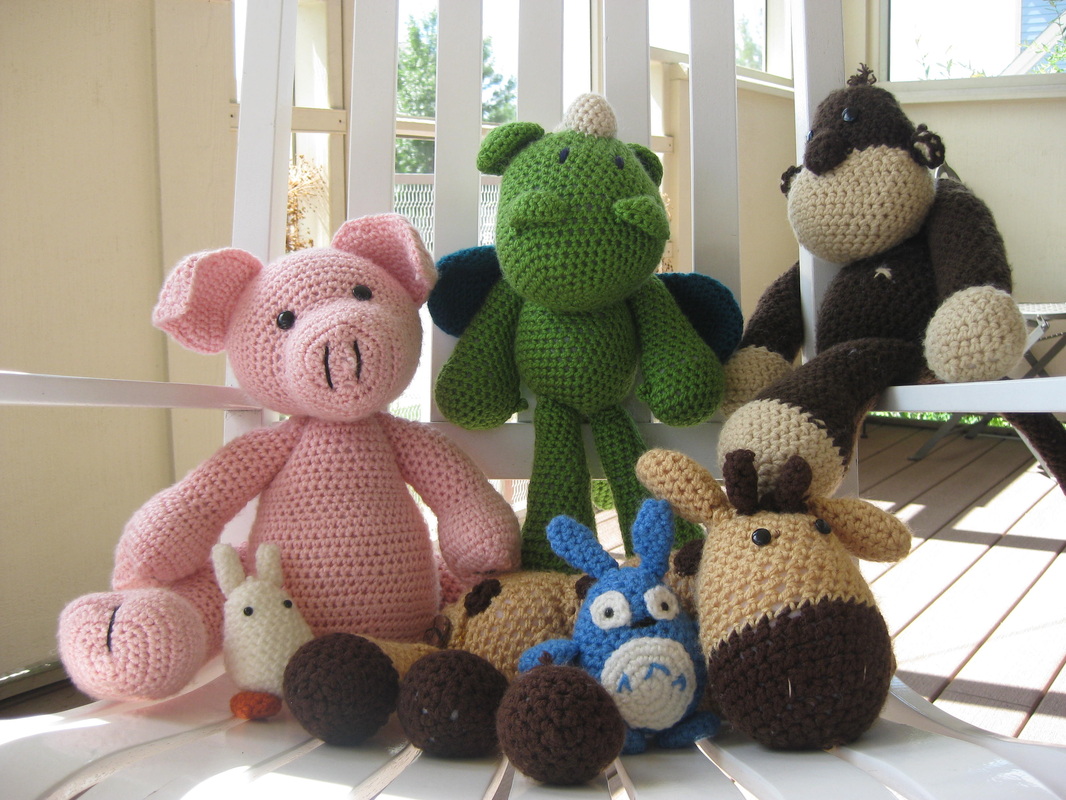
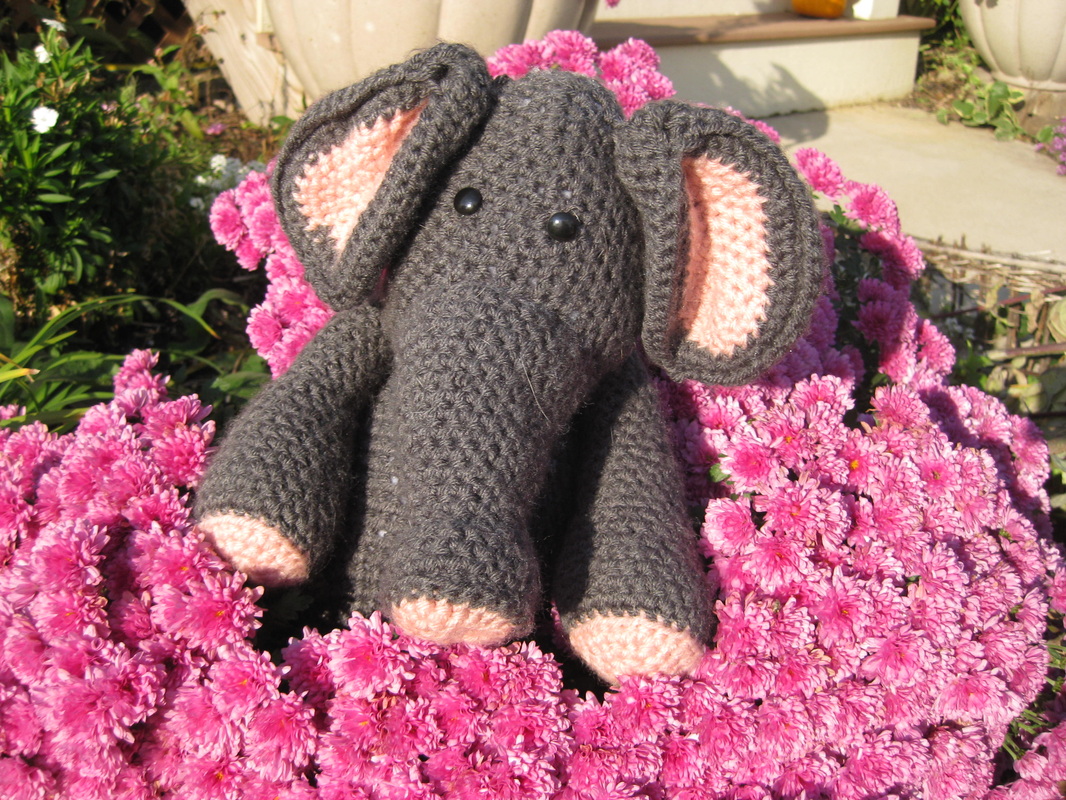
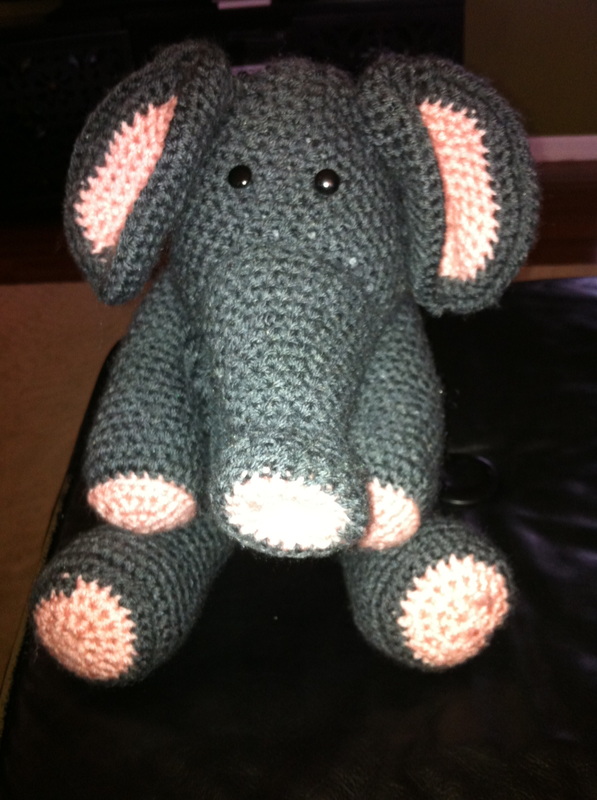
I've gotten a lot of feed back on the pictures I posted of my crochet stuffed animals from my Plush Elephant post. I thought I'd write a special post on just them! There will be tons of pictures because I have a lot of them on these guys. For a good year.. about two years ago...I was obsessed with making these guys. At the end of this post, I'll give you guys a list of links where I bought some of these patterns. ^_^
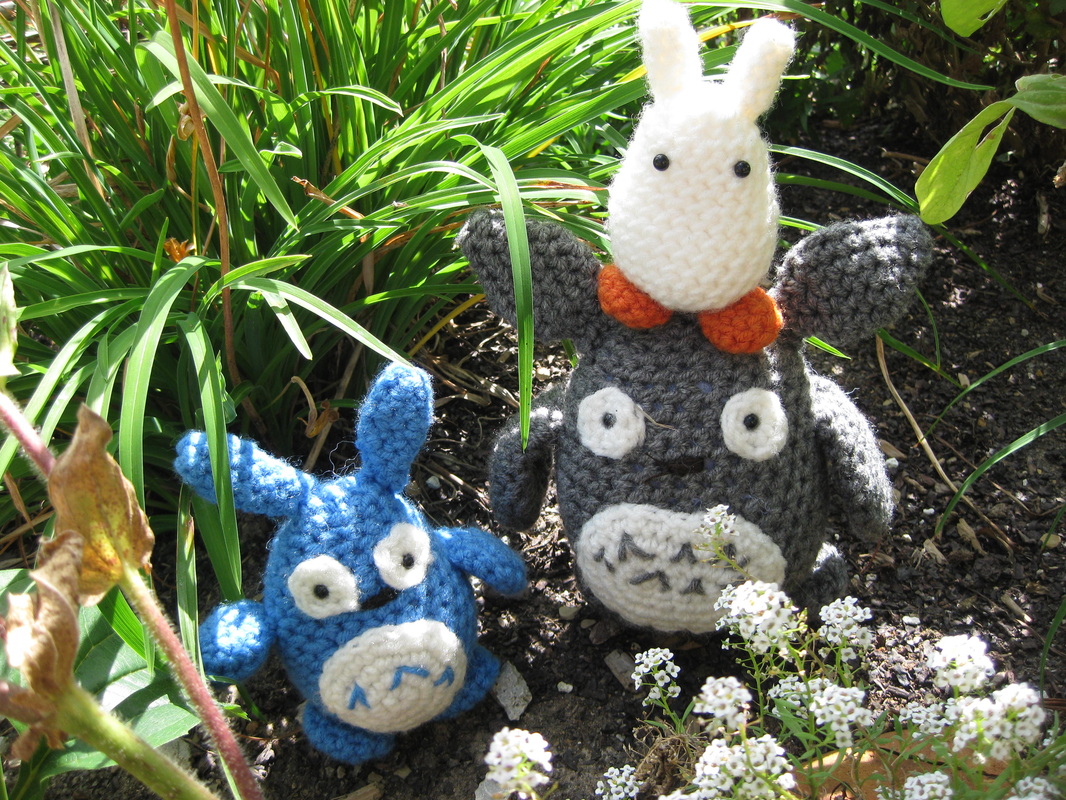
I came across these awesome crochet art from one of my many anime/manga that I watch/read. They originate in Japan. They're really called amigurumi. If you google it, there is a ton of stuff out there on amigurumi. Like a whole different side to crocheting and knitting! I have yet to try the knitting amigurumi yet. I am not a very good knitter. I am much better at crocheting so I stuck with what I knew. ^_^ Here's a few pictures of a few of them! I have a portfolio full of the projects I've made over the years, hence all the cute pictures. :)
I came across these awesome crochet art from one of my many anime/manga that I watch/read. They originate in Japan. They're really called amigurumi. If you google it, there is a ton of stuff out there on amigurumi. Like a whole different side to crocheting and knitting! I have yet to try the knitting amigurumi yet. I am not a very good knitter. I am much better at crocheting so I stuck with what I knew. ^_^ Here's a few pictures of a few of them! I have a portfolio full of the projects I've made over the years, hence all the cute pictures. :)
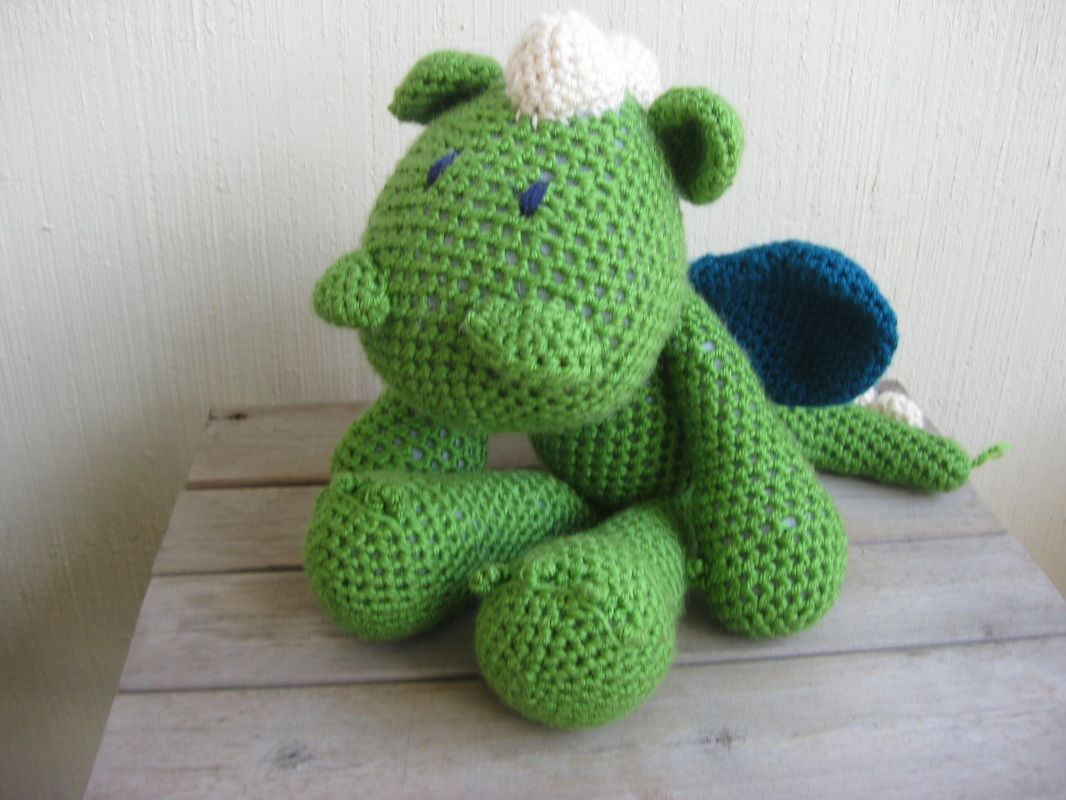 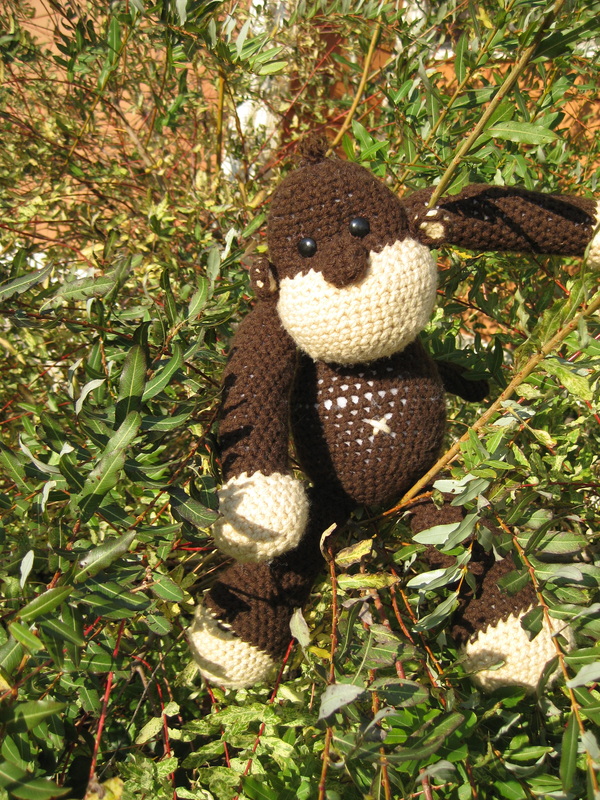 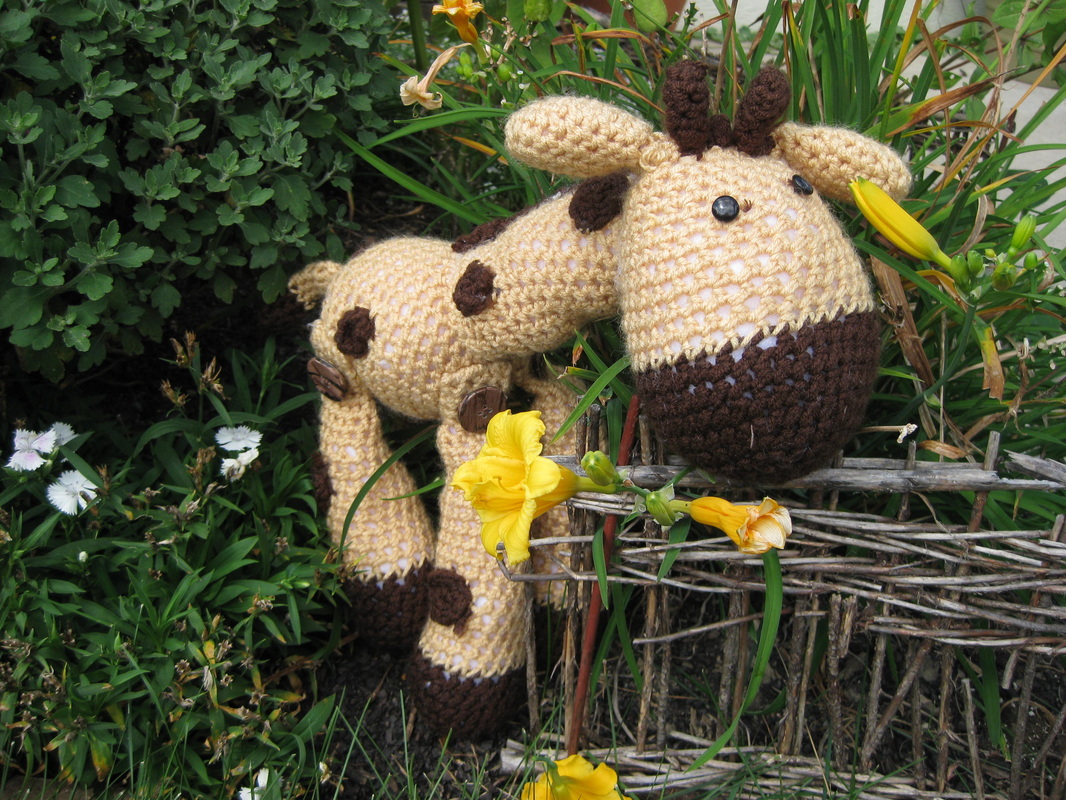 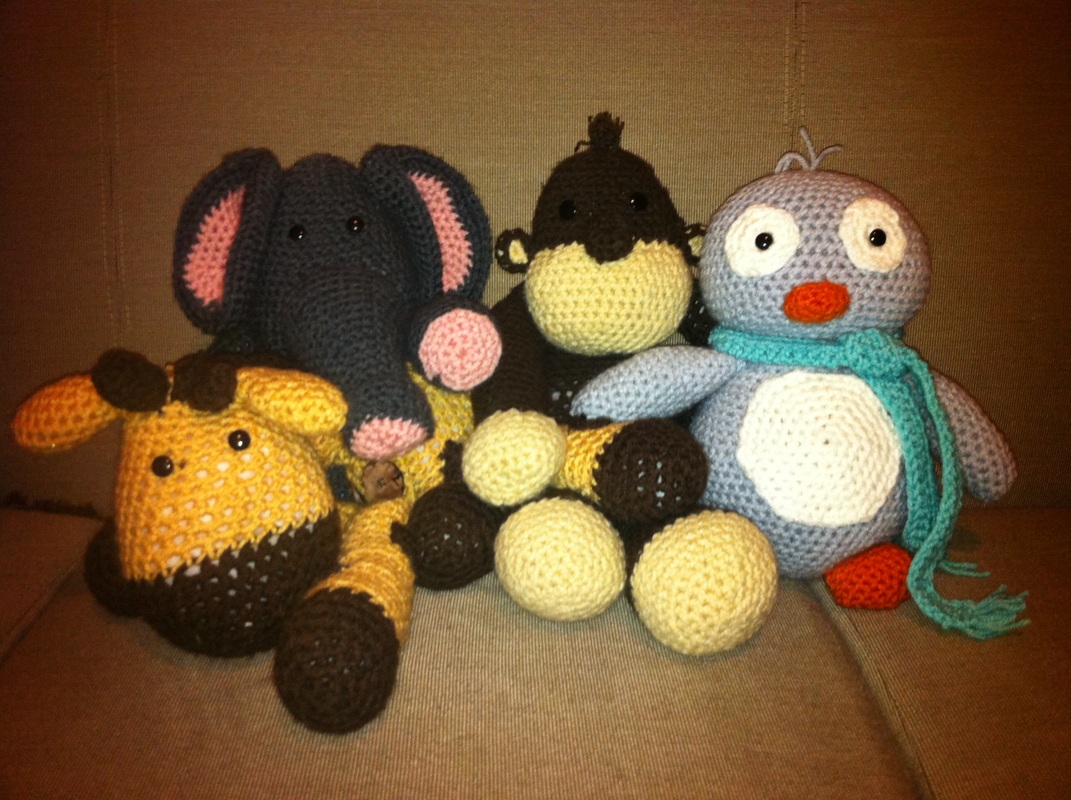 |     |
At first, these guys were tough to get the hang of. Above if you can see the giraffe the stitches are really loose. He was my very first amigurumi project. The monkey was next who also has some issues with the spacing of the stitches. As you go along, and once you get use to the circles and how to work the yarn, your stitches will be tighter and closer together. These guys are very time consuming also. They take many hours to complete. A lot of them have smaller parts that you need to crochet and attach. Each piece is done separately and then you add it on.
The crocheting in circles was something totally new and it takes awhile to get the hang of. They are all made by crocheting in circles (except the pig). Increases and decreases of the circles have to perfect or the shape doesn't come out right. Here's a good video I found really helpful for those of you who are thinking about trying making one of these cute stuffies! HERE. I ignore how to hold your yarn, everyone has different techniques and niches that work for them. That person aslo has an ep.2 where she goes over how to increase the circle and decrease the circle. I found them useful.
Another thing with amigurumi is that your version will most likely most of the time...? look different from the picture on the pattern... example...
theres... mine...
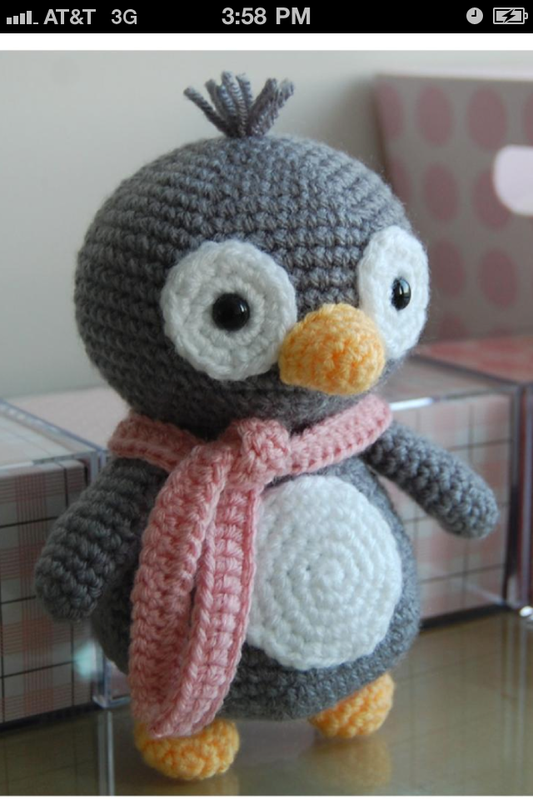 |  |
Now... I did this pattern three times and it turned out the same way. Double the size the pattern said it would be and not nearly as nice as the one in the picture. It was driving me crazy. But, I finally gave up and the penguin, although not perfect, was still super cute in it's own twice it's size way... ^_^
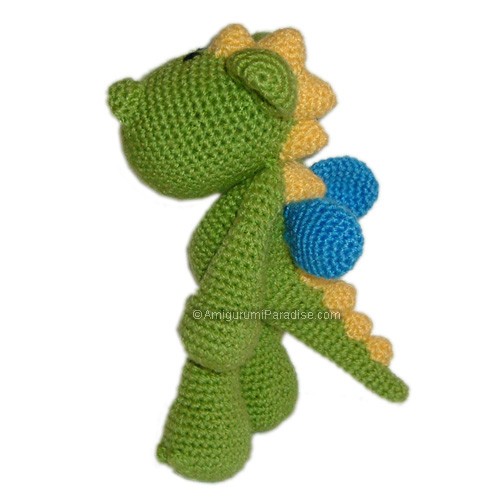
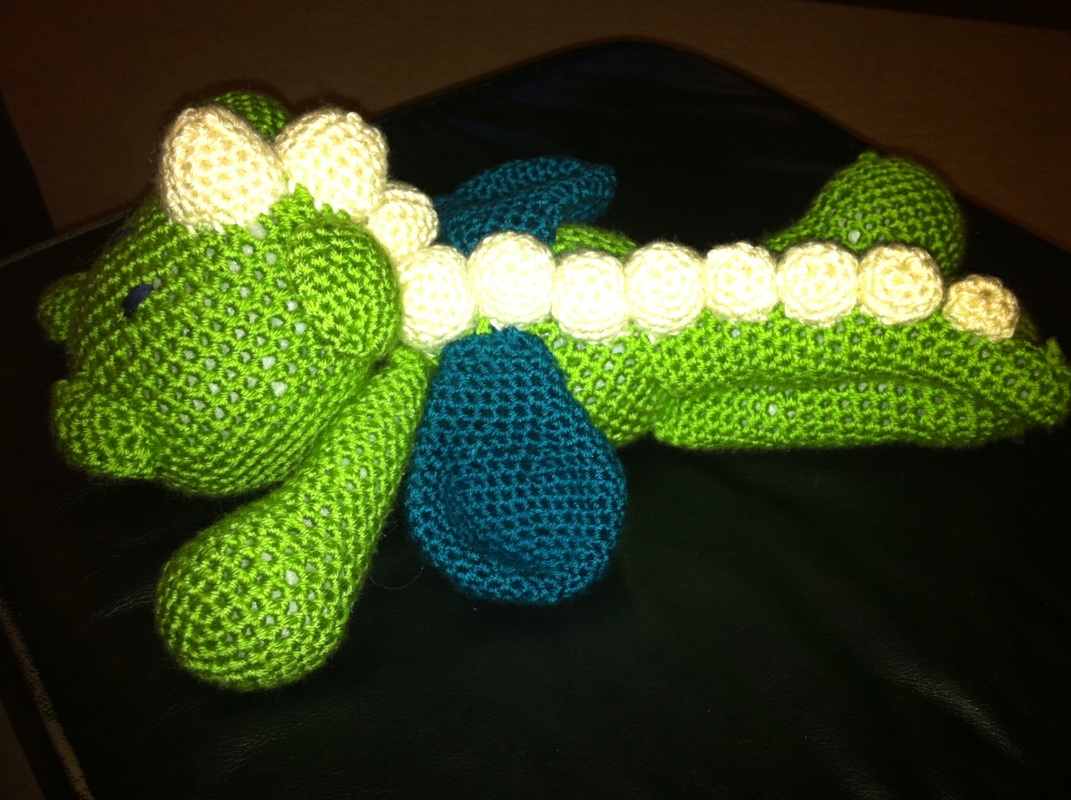
After you get use to making the stuffed animals, you can start to make alterations to the patterns and make them work for what your vision of that certain animal is. I ended up changing the dragon pattern I had quite a bit. I ended up making him almost twice his size (on purpose this time...). I changed the size of his wings and tail also. The pattern called for much smaller wings and not so long tail. But, the dragon I wanted, needed large wings and long cute tail. Dragons have to have large wings and long tails. It took some trail and error to get what I liked the most, but heres the pattern and what mine turned out like...
original pattern my alterations
 |  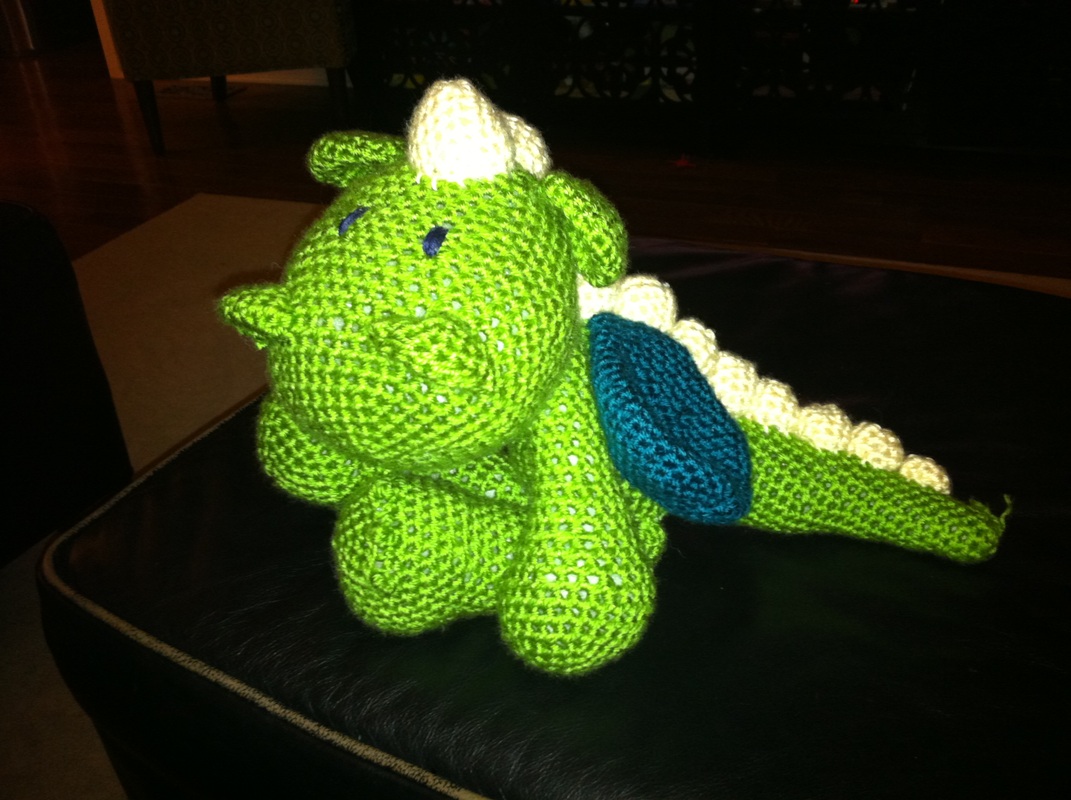 |
Here is my pattern for the larger wings. I like using an alternating color than the dragon's body.
Row 1: 6 sc magic ring
Row 2: inc around (12)
Row 3: sc, inc (18)
Row 4: 2 sc, inc (24)
Row 5-6: sc around (24)
Row 7: 3sc, in
Row 8: 4 sc, in (36)
Row 9-10: sc around (36)
Row 11: 4 sc, dec
Row 12: 3 sc, dec (24)
Row 13-14: sc around (24)
Row 15: 2 sc, dec (18)
Row 16-17: sc around (18)
Row 18: 4 sc, dec (15)
Row 19: sc around (15)
Row 20: 3 sc, dec (9)
When I finally have the body parts at least attached. (the legs, head, arms and body) I tend to take a contrasting color of yarn and run it down the middle of the stuffies' head. This makes it easier to attach the ears, or other head pieces. It helps a lot with the eyes. For the eyes, it depends on the stuffie that I'm making wether I will hand sew the eyes on, or if I will use Safety Eyes. I love using the safety eyes verses buttons for eyes because the safety eyes snap on and are really hard to get off. They are great for little kids, because we all know they tend to chew on the eyes. Sometimes the hand stitched eye looks way cuter.
Here's how I added the cow's extra head pieces. It was hard getting the cow just right. He had his two ears, two horns, and his eyes were difficult. His eyes were sort of tricky getting just right because of the way the patch worked. One of his eyes laid on the patch the other I had to sew just right onto the body itself. It was tricky, but I managed it after about an hour trying to get it perfect. My perfectionist monster coming out ^_^
Here's how I added the cow's extra head pieces. It was hard getting the cow just right. He had his two ears, two horns, and his eyes were difficult. His eyes were sort of tricky getting just right because of the way the patch worked. One of his eyes laid on the patch the other I had to sew just right onto the body itself. It was tricky, but I managed it after about an hour trying to get it perfect. My perfectionist monster coming out ^_^


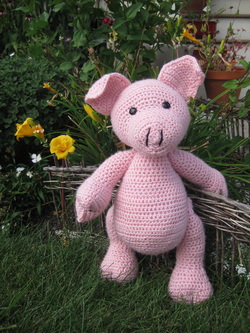
I mentioned above that the pig was a little bit different. This amigurumi isn't crocheted with a circle, but done with continuous rows instead. There is a huge difference. It was pretty difficult at first to get the hang of after doing so many of them in the circle crochet. I had to redo the head a couple of times. The website that I bought the pattern from, has amazing helpful tutorials on how to make their amigurumi. I used a lot of their helpful tips as I created my piggy.
The best tip they gave me that gave me a huge help was finally figuring out how to get the arms and legs on like a doll sort of. They have great pictures and instructions on how to do it. ^_^ I now attach all of my stuffies' arms and legs this way. So simple and they stay on much better than stitching them on.
The best tip they gave me that gave me a huge help was finally figuring out how to get the arms and legs on like a doll sort of. They have great pictures and instructions on how to do it. ^_^ I now attach all of my stuffies' arms and legs this way. So simple and they stay on much better than stitching them on.
I have over 20 patterns and I have yet to make them all. I love them though. Here are a few of my favorite websites and shops for patterns.
There are plenty of options online for free also if you just google free amigurumi patterns if you do not wish to purchase any.
My favorite pattern shops:
http://www.etsy.com/shop/designshop?ref=seller_info
http://www.etsy.com/shop/FiberDoodlesbyK4TT
http://www.etsy.com/shop/madisonscraftnook?ref=seller_info
http://www.etsy.com/shop/LuvlyGurumi
The etsy shop where I bought the cow and dragon is currently down, so here is their website
http://esbelotta.blogspot.com/2012/02/all-my-patterns.html
Happy Crocheting Everyone!

 RSS Feed
