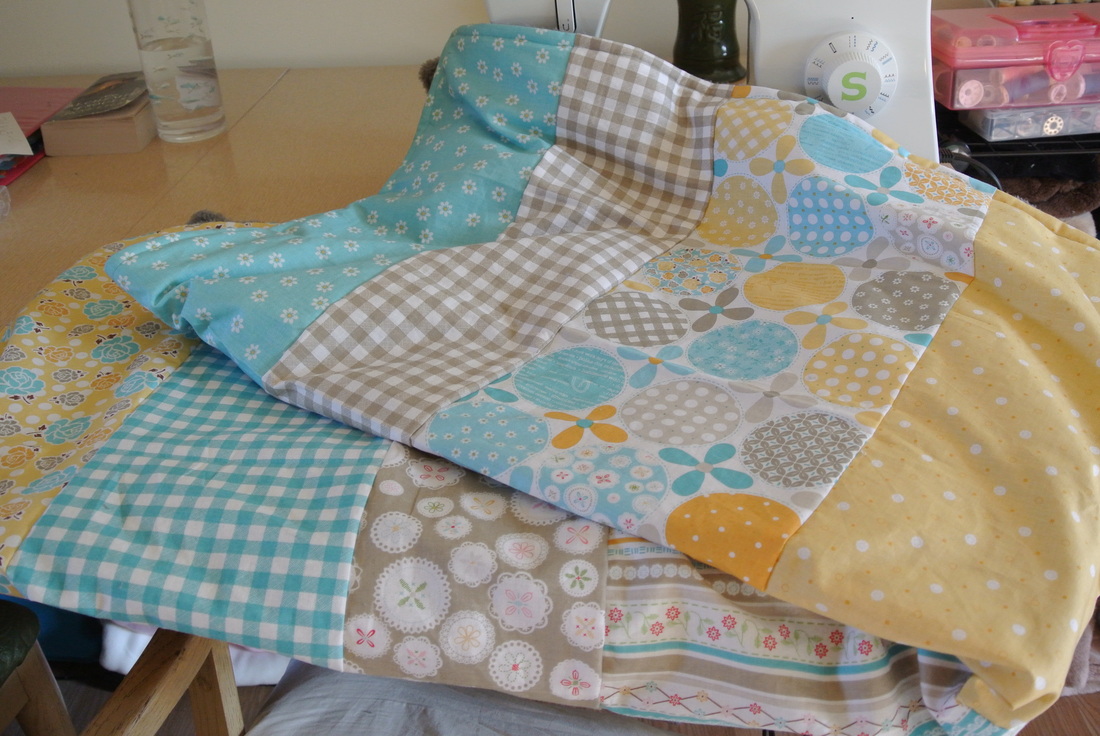
Here it is! Finally!!! :D The tutorial for the snuggly blanket I make. I made one two years ago and everyone keeps trying to steal it or comment how snuggly and soft it is. Always hinting that they want me to make them one also. I use mine everyday. I love how soft it is. Now that all my craft supplies are out of storage, I dove into this project today. I picked out this fabric months ago. I was so ecstatic to finally use it. It's a beautiful combination.

Here's what you will need for the children's blanket size I made. The finished product is roughly the size of 54" x 34".
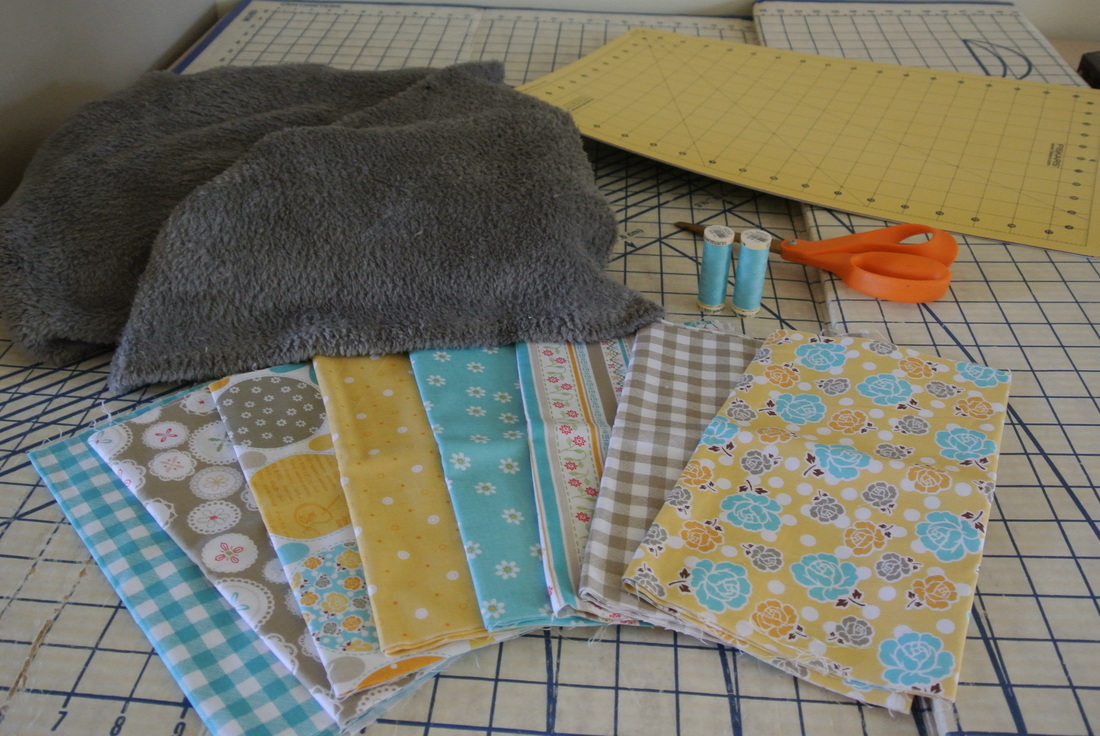
What You'll Need:
1.5 yd of any Minky type fabric. (I use the Soft n Comfy fabric. You can find it at any Joann's
store. Although the larger stores will carry a lot more color options. I drive an hour away to the largest store in order to get different colors.)
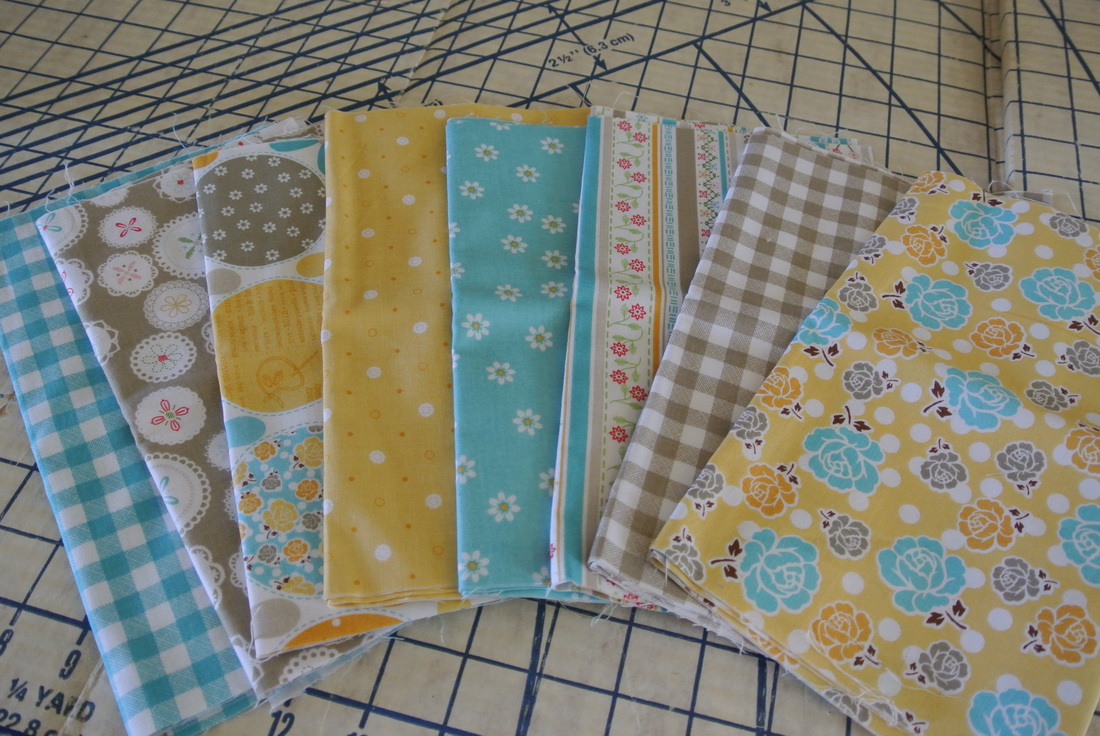
8 different coordinating Quilting fabric
1/4 yd of each color
Coordinating thread
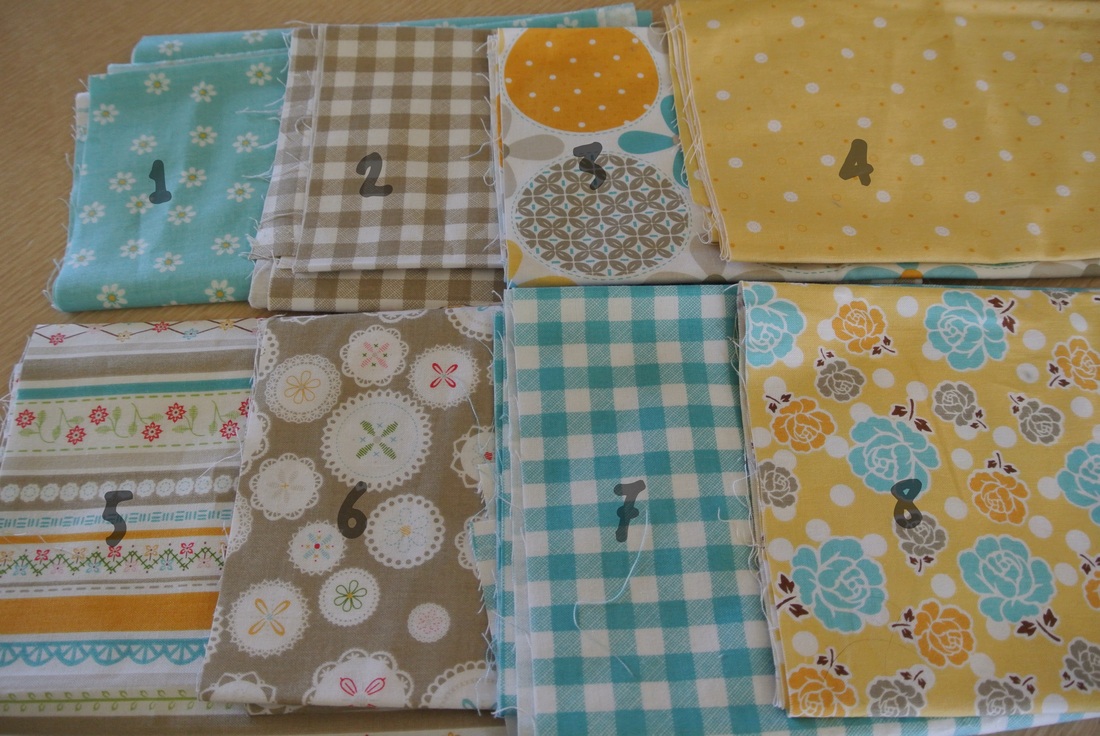
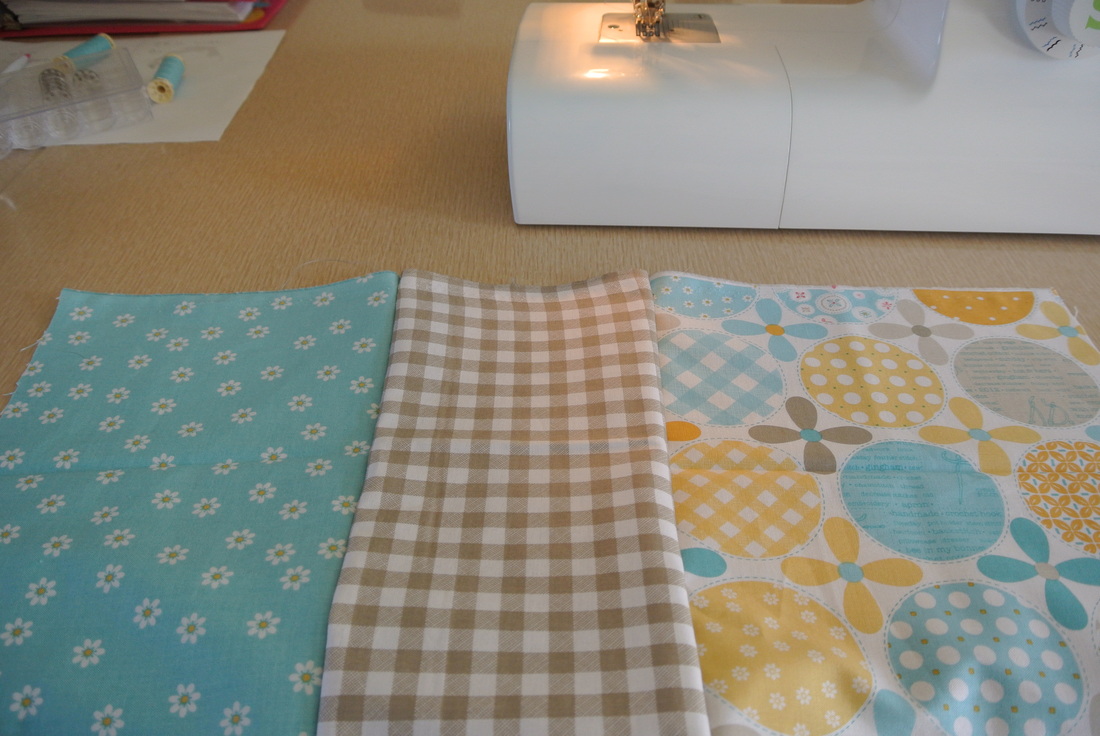
You'll want to organize your 8 colors into the order you want them to come in the blanket. I always take a piece of paper and pin it to that color so I don't get confused. It always takes me awhile to figure out what order I want them to come in. I always change my mind. Pinning a number to the fabric makes it sort of concrete in my mind. Here's the order I chose:
1.5 yd of any Minky type fabric. (I use the Soft n Comfy fabric. You can find it at any Joann's
store. Although the larger stores will carry a lot more color options. I drive an hour away to the largest store in order to get different colors.)
8 different coordinating Quilting fabric
1/4 yd of each color
Coordinating thread
You'll want to organize your 8 colors into the order you want them to come in the blanket. I always take a piece of paper and pin it to that color so I don't get confused. It always takes me awhile to figure out what order I want them to come in. I always change my mind. Pinning a number to the fabric makes it sort of concrete in my mind. Here's the order I chose:
Cut your backing fabric.
To start off, you will want to cut your soft backing into about a 56"x36" size. Sometimes I leave the minky alone and just clean up the sides making sure they are straight. Other times I cute it exactly into the size I want. I like to leave myself plenty of room for mistakes. If I do cut the minky fabric I give myself about an inch on each side.
The first blanket I made I did in large squares. This time and most likely every time now after, I will make them in stripes. I didn't want the blanket to be boring and have all the stripes the same size. I looked at the color order of my fabric and decided which fabric designs I wanted to be the bigger stripes and which ones I wanted to be smaller. Mostly I choose my favorites to be the bigger stripes.
The minky is tricky to sew. It likes to stretch and move a lot. I always sew with it on top and give myself at least 2inches extra of the bottom so I have enough room to maneuver the minky. So I cut my stripes at a length of 40". I am still a beginner sewer so this might not work for everyone, or I could just be doing it wrong. But, it works for me. : )
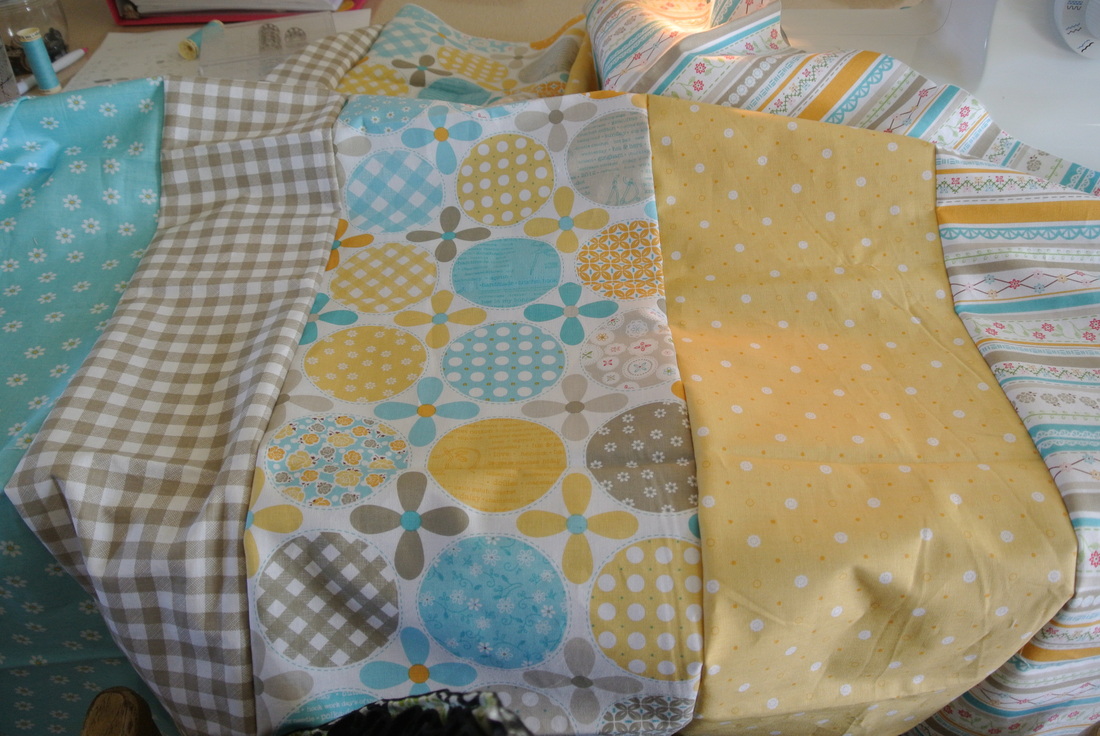
Cut your stripe fabric colors.
For the width of the stripes, this is what I decided on:
Color 1: 7.5"
Color 2: 6"
Color 3: 9"
Color 4: 7.5"
Color 5: 9.5"
Color 6: 6"
Color 7: 7.5"
Color 8: 9.5"
To start off, you will want to cut your soft backing into about a 56"x36" size. Sometimes I leave the minky alone and just clean up the sides making sure they are straight. Other times I cute it exactly into the size I want. I like to leave myself plenty of room for mistakes. If I do cut the minky fabric I give myself about an inch on each side.
The first blanket I made I did in large squares. This time and most likely every time now after, I will make them in stripes. I didn't want the blanket to be boring and have all the stripes the same size. I looked at the color order of my fabric and decided which fabric designs I wanted to be the bigger stripes and which ones I wanted to be smaller. Mostly I choose my favorites to be the bigger stripes.
The minky is tricky to sew. It likes to stretch and move a lot. I always sew with it on top and give myself at least 2inches extra of the bottom so I have enough room to maneuver the minky. So I cut my stripes at a length of 40". I am still a beginner sewer so this might not work for everyone, or I could just be doing it wrong. But, it works for me. : )
Cut your stripe fabric colors.
For the width of the stripes, this is what I decided on:
Color 1: 7.5"
Color 2: 6"
Color 3: 9"
Color 4: 7.5"
Color 5: 9.5"
Color 6: 6"
Color 7: 7.5"
Color 8: 9.5"
I don't know what is a normal seam amount but when I sew in stripes I do a 1/2" seam. I think that is a little larger than what normal people use. But because I am still not the best sewer I use a larger seam. ( I am still having terrible trouble sewing in a completely straight line.
Sew fabric colors 1-8 together in order by placing the right sides facing each other.
Sew fabric colors 1-8 together in order by placing the right sides facing each other.
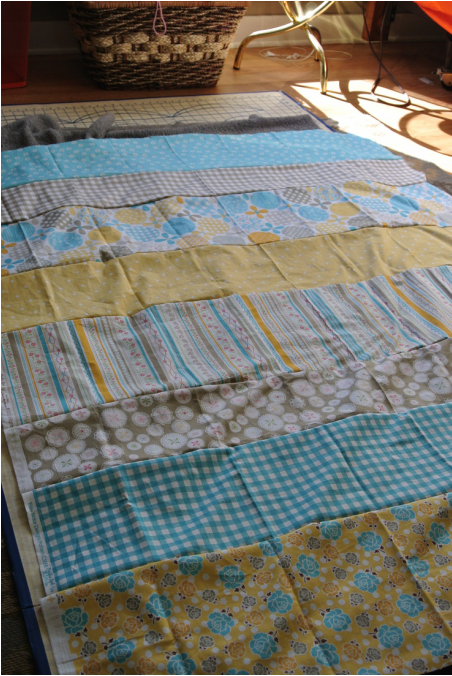
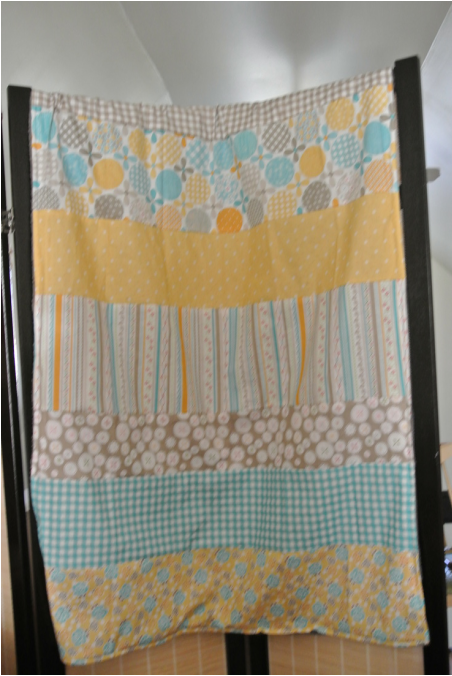
Once you're done sewing the stripes all together, iron the front of the blanket out flat.
Honestly sometimes I don't iron out my fabric after I get done sewing it. I just get lazy or I rush to get the project done because I want to see the finished project so bad. It's always better to iron it then sew the front and back together.
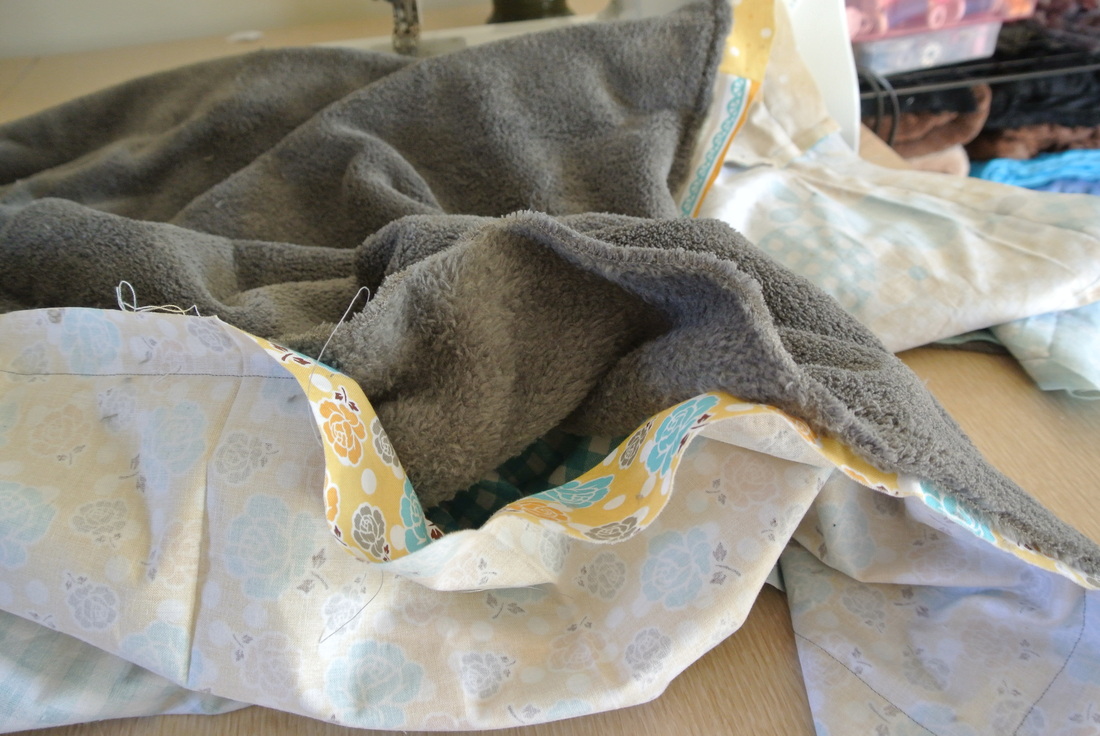
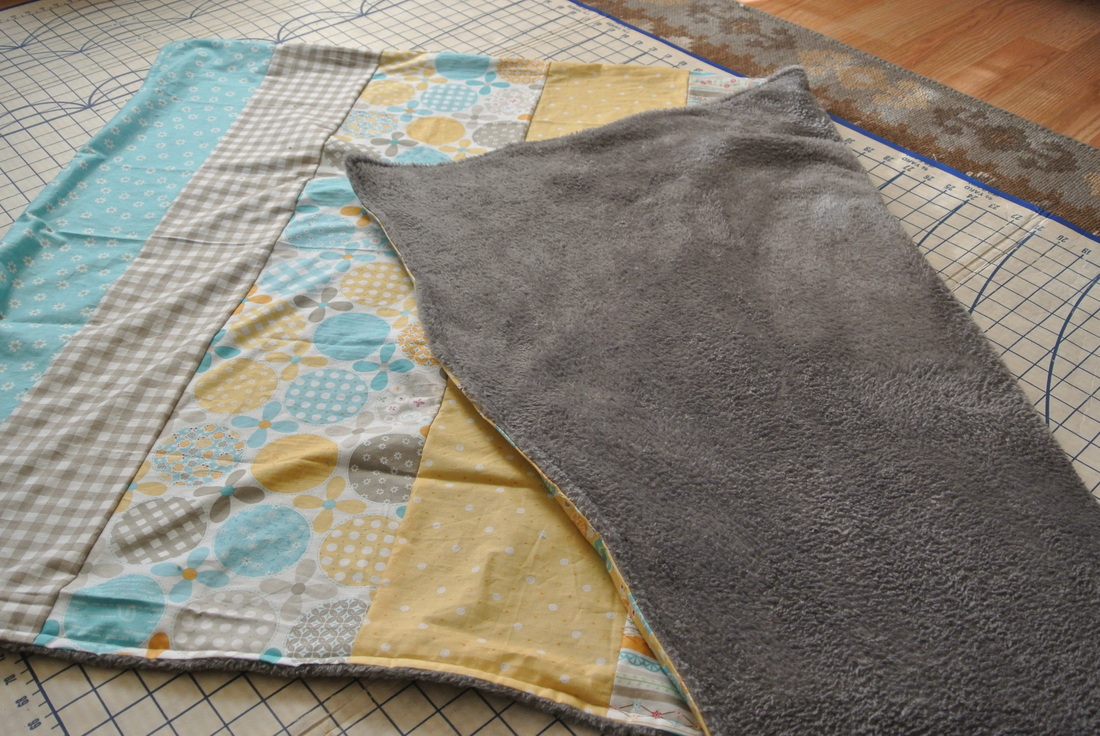
Place the striped front facing up and lay your backing face down on top each other. Pin together.
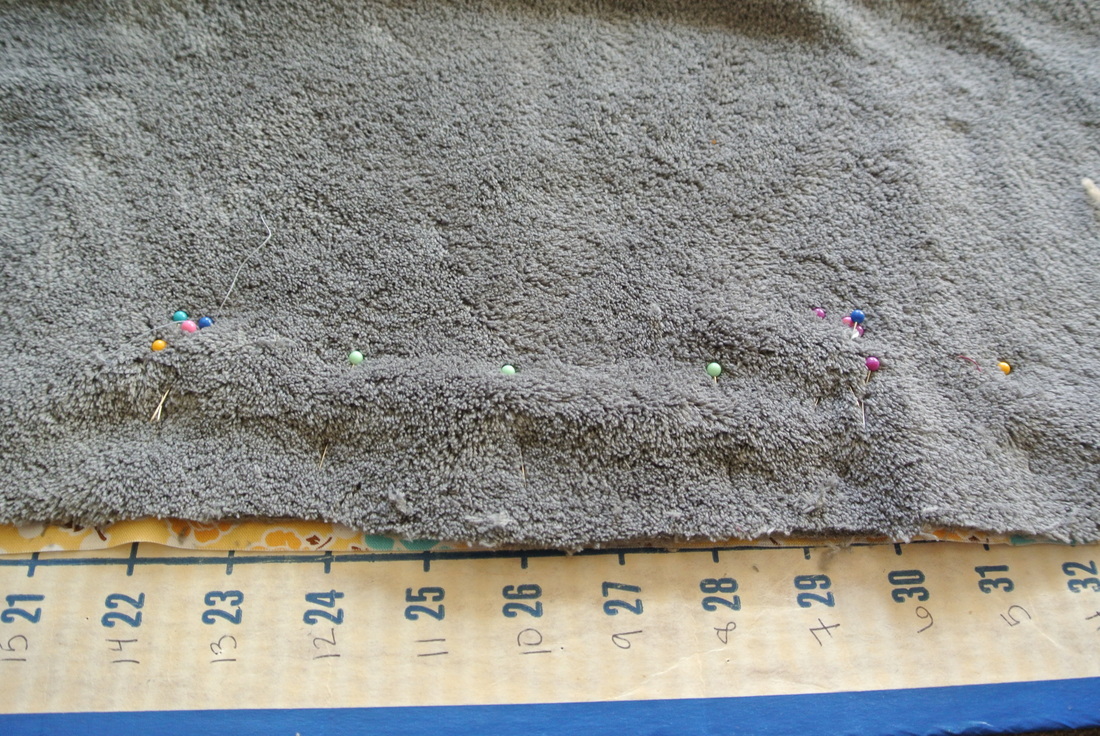
Sew with a 1/2" seam leaving about 4-5 inches open on one side to reverse the blanket.
Place the striped front facing up and lay your backing face down on top each other. Pin together.
Sew with a 1/2" seam leaving about 4-5 inches open on one side to reverse the blanket.
I forgot to take a picture of these steps while I was working on the project. Here's a photo of some scrap fabric on how I let myself know where to start and stop. I tend to get too sew happy and sometimes keep sewing right over where I need to leave a whole to reverse the fabric. Pinning multiple pins in one spot always catches my attention on when to stop.
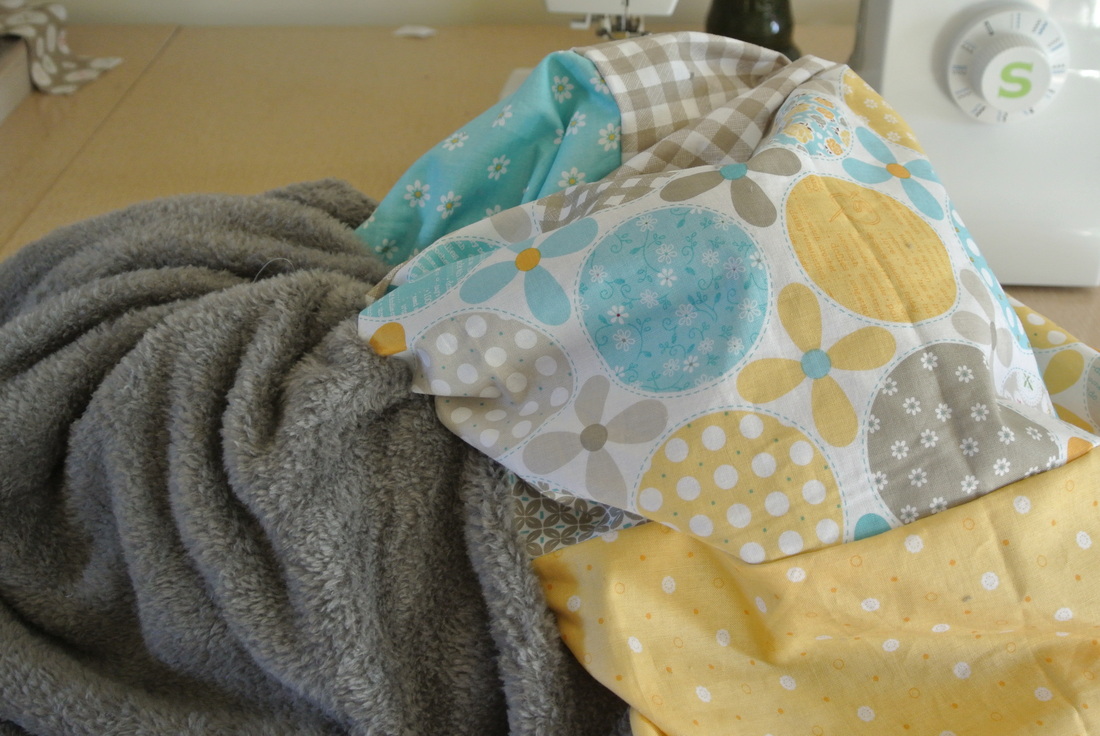
Reverse fabric by pulling through the section you left open in the previous step.
I like to make the hole a little bigger because I always under judge how the fabric will pull through. It gets stuck and I sometimes have to ripp out stitches. I always get super frustrated. I found it's always better to have a too big of an opening than too small. Don't forget to push out all 4 corners.
| 
|
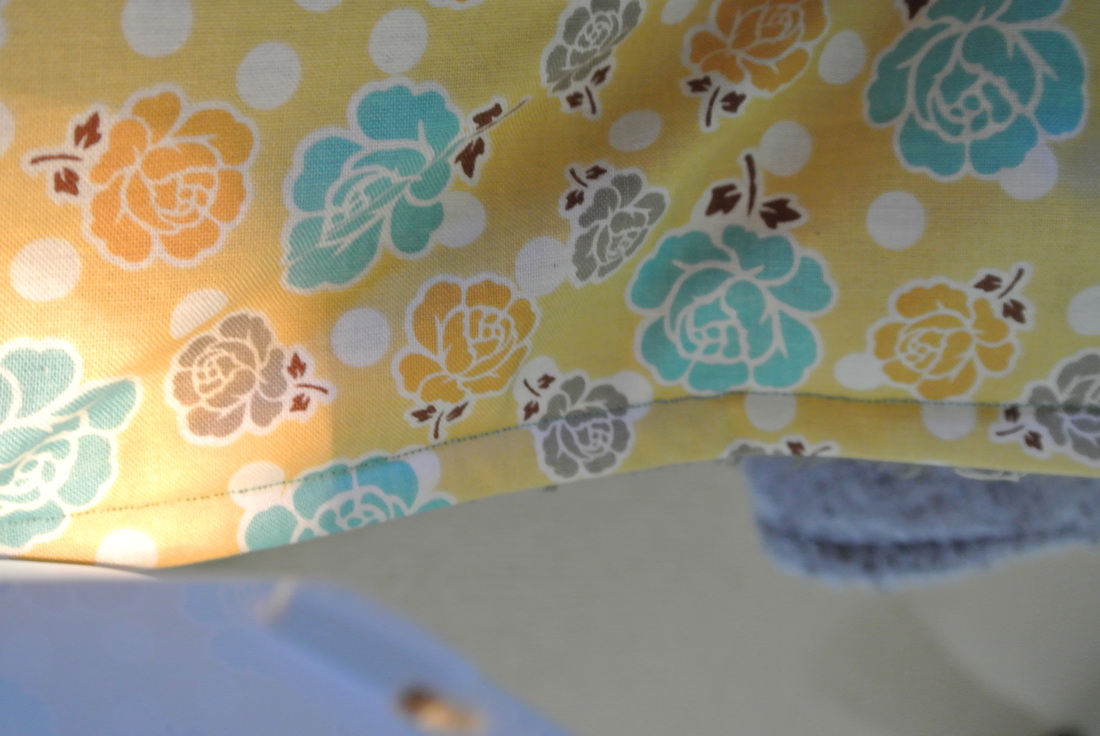
Fold the sides of your opening in to match the existing seam and pin it down. Sew a 1/2" seam all the way around the blanket.
I don't like to use bindings. I can never get the seams to come out nice and the bindings get all messed up. I am sure I will get better the more I use them, but for now I just avoid it like the plague.
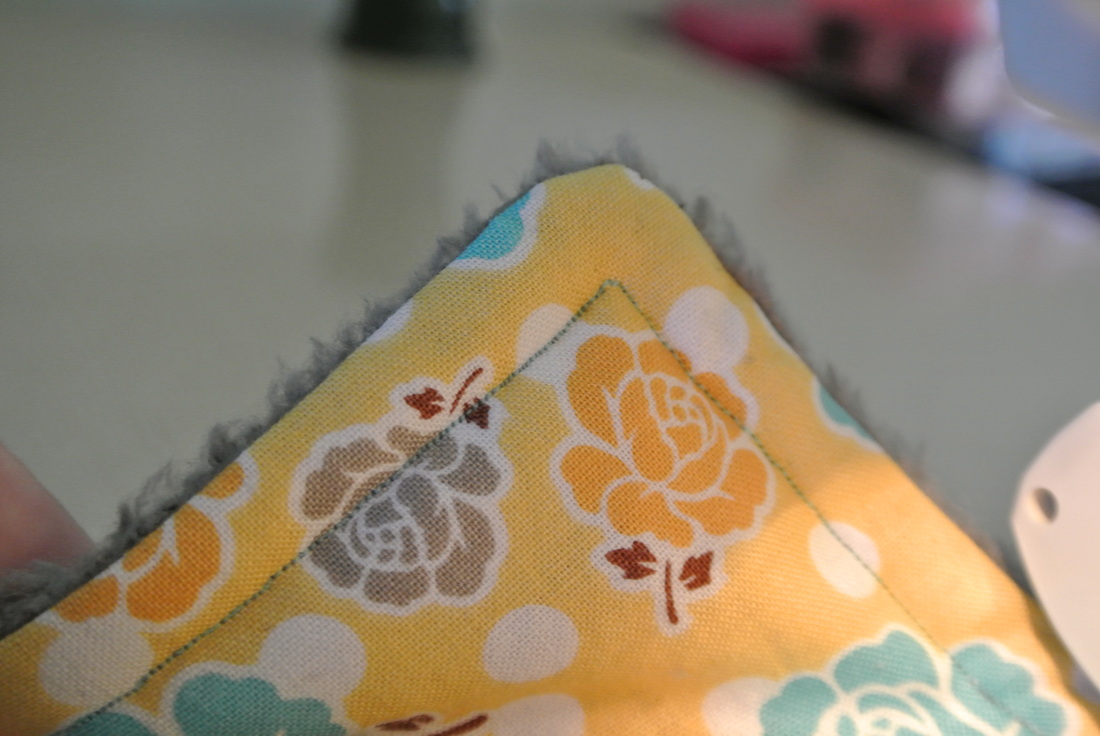
and DONE! : ) They are really easy to make. I think in all, including prep time and sewing time, it took me about three and half hours. I'll be making larger size blankets soon. I started on one of them today and realized I didn't have enough fabric to make the stripes. Silly me. I misjudged how much I needed. I'll add another post on how I make the bigger ones. Part II : )
Have any questions? Don't hesitate to ask!! Or tell me if I messed up somewhere in my tutorial. It's actually my very first full sewing tutorial and I still don't know all the terminology and stuff. : )

 RSS Feed
